Heads-up: This step assumes you finished Step 3 (kernel headers, Rust, WireGuard,.env, and thesystemdunit).
1 – Clone the Sources
2 – Visual Walk-through
2.1 Connect to Your Server
| Action | |
|---|---|
| SSH into the host | 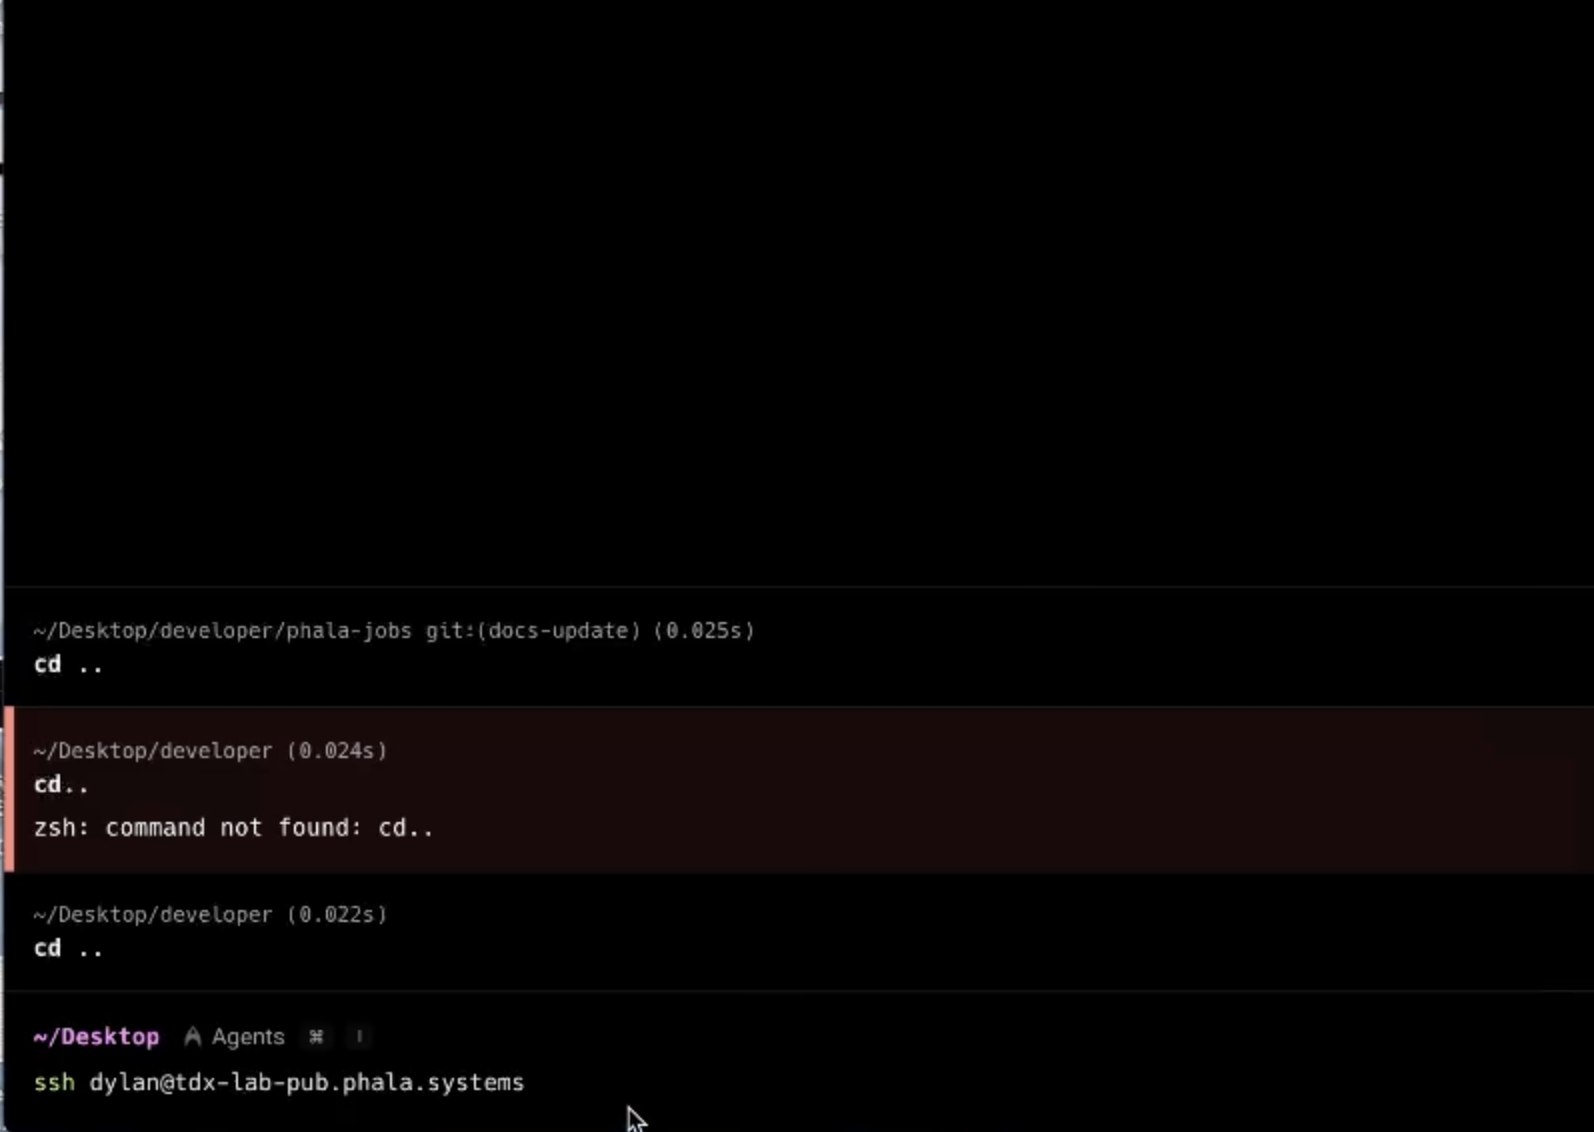 step1.png |
| Accept the fingerprint |  step2.png |
| Confirm WireGuard installed | 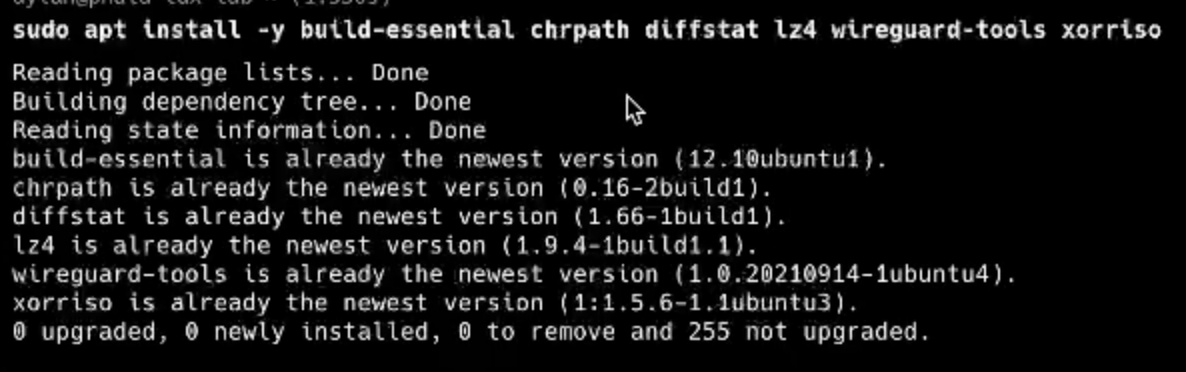 step4.0.png |
2.2 Prepare the Build Environment
| Action | |
|---|---|
| Install Rust (rustup) | 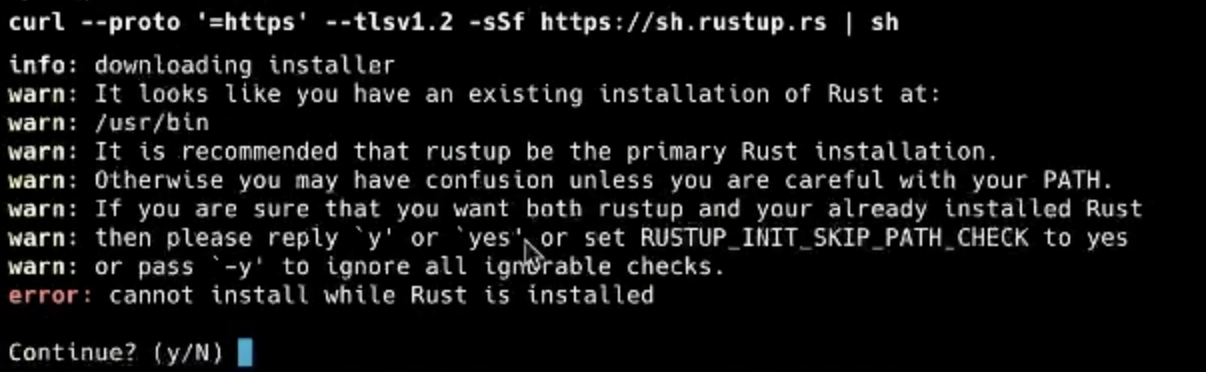 step4.1.png |
| Finish rustup setup | 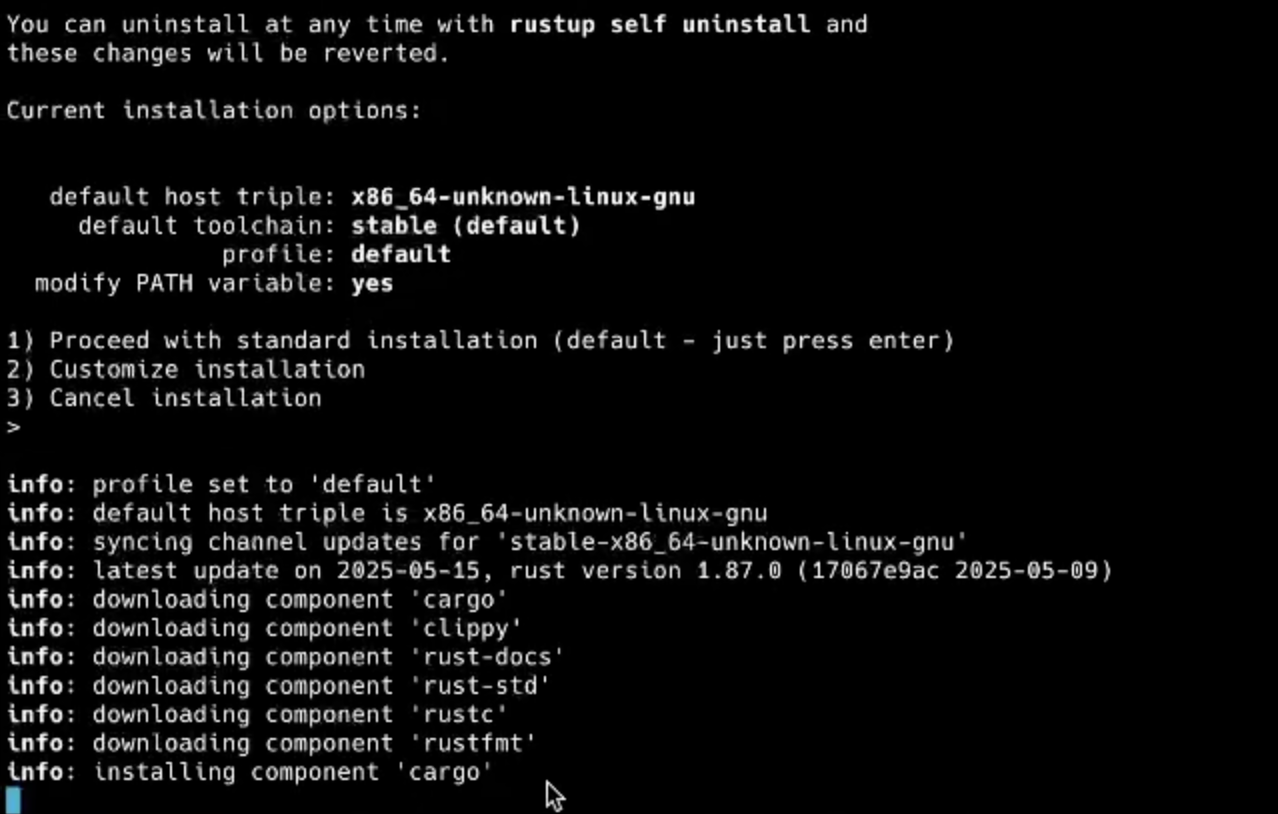 step4.2.png |
| Clone meta-dstack | 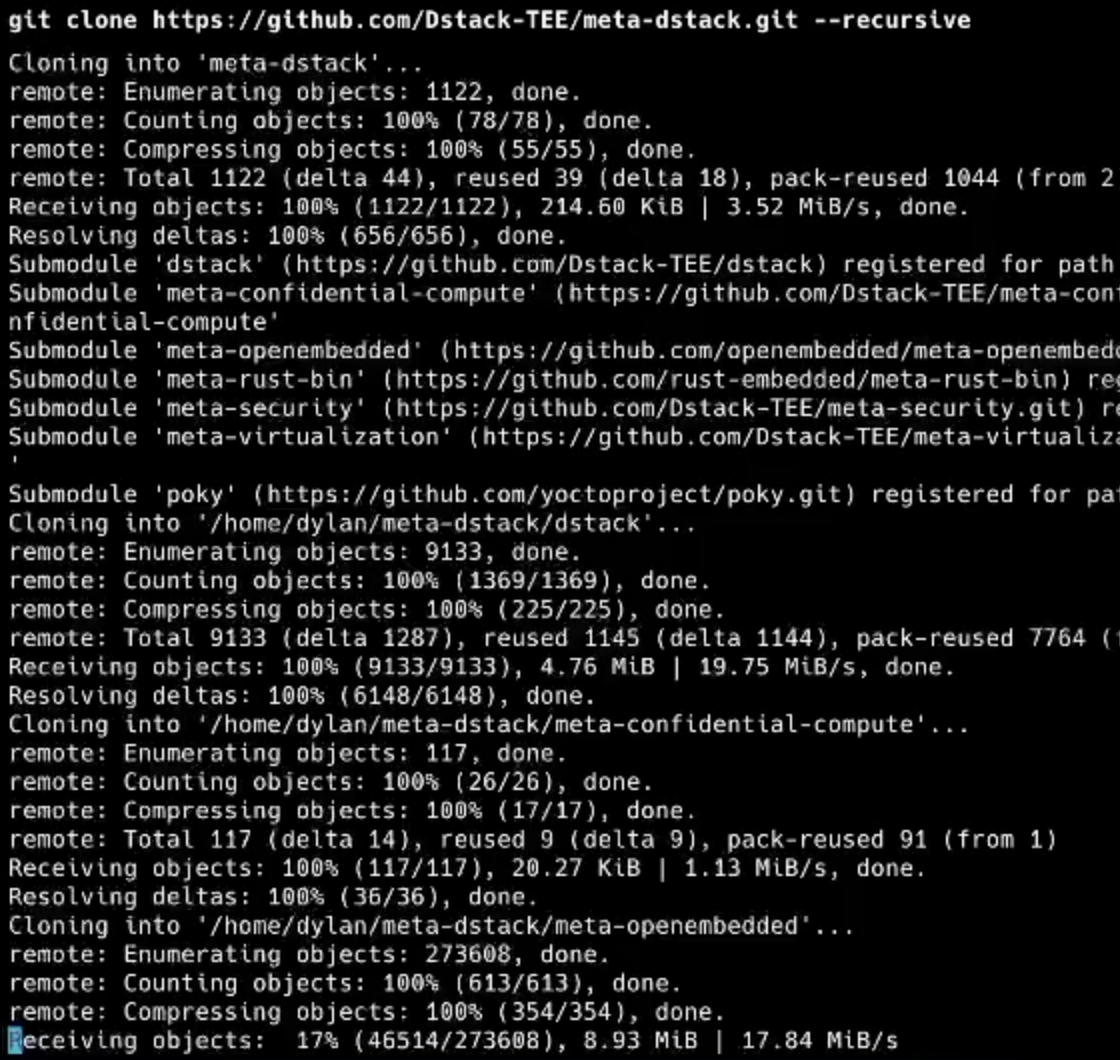 step4.3.png |
| Generate local build config | 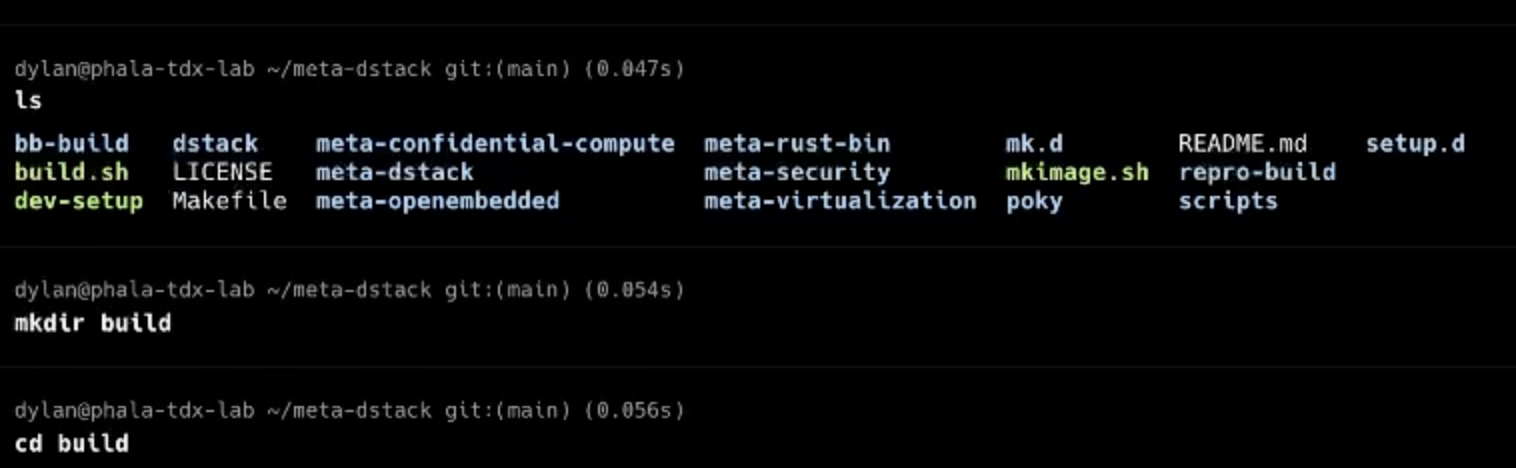 step4.4.png |
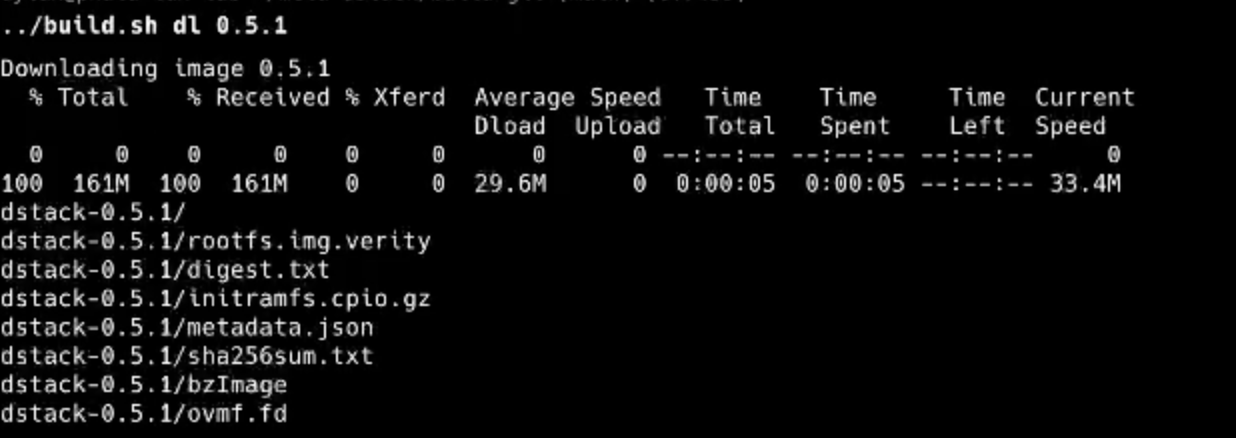
2.3 Build dstack Binaries
Inside the repo: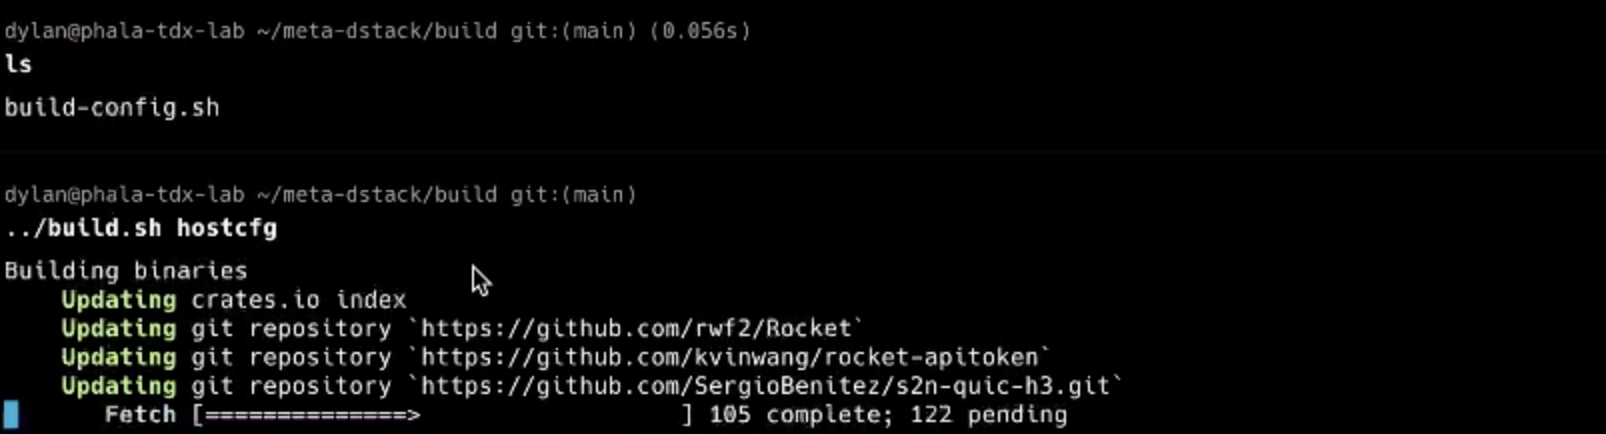

3 – Start Core Services
| Action | |
|---|---|
Start kms | 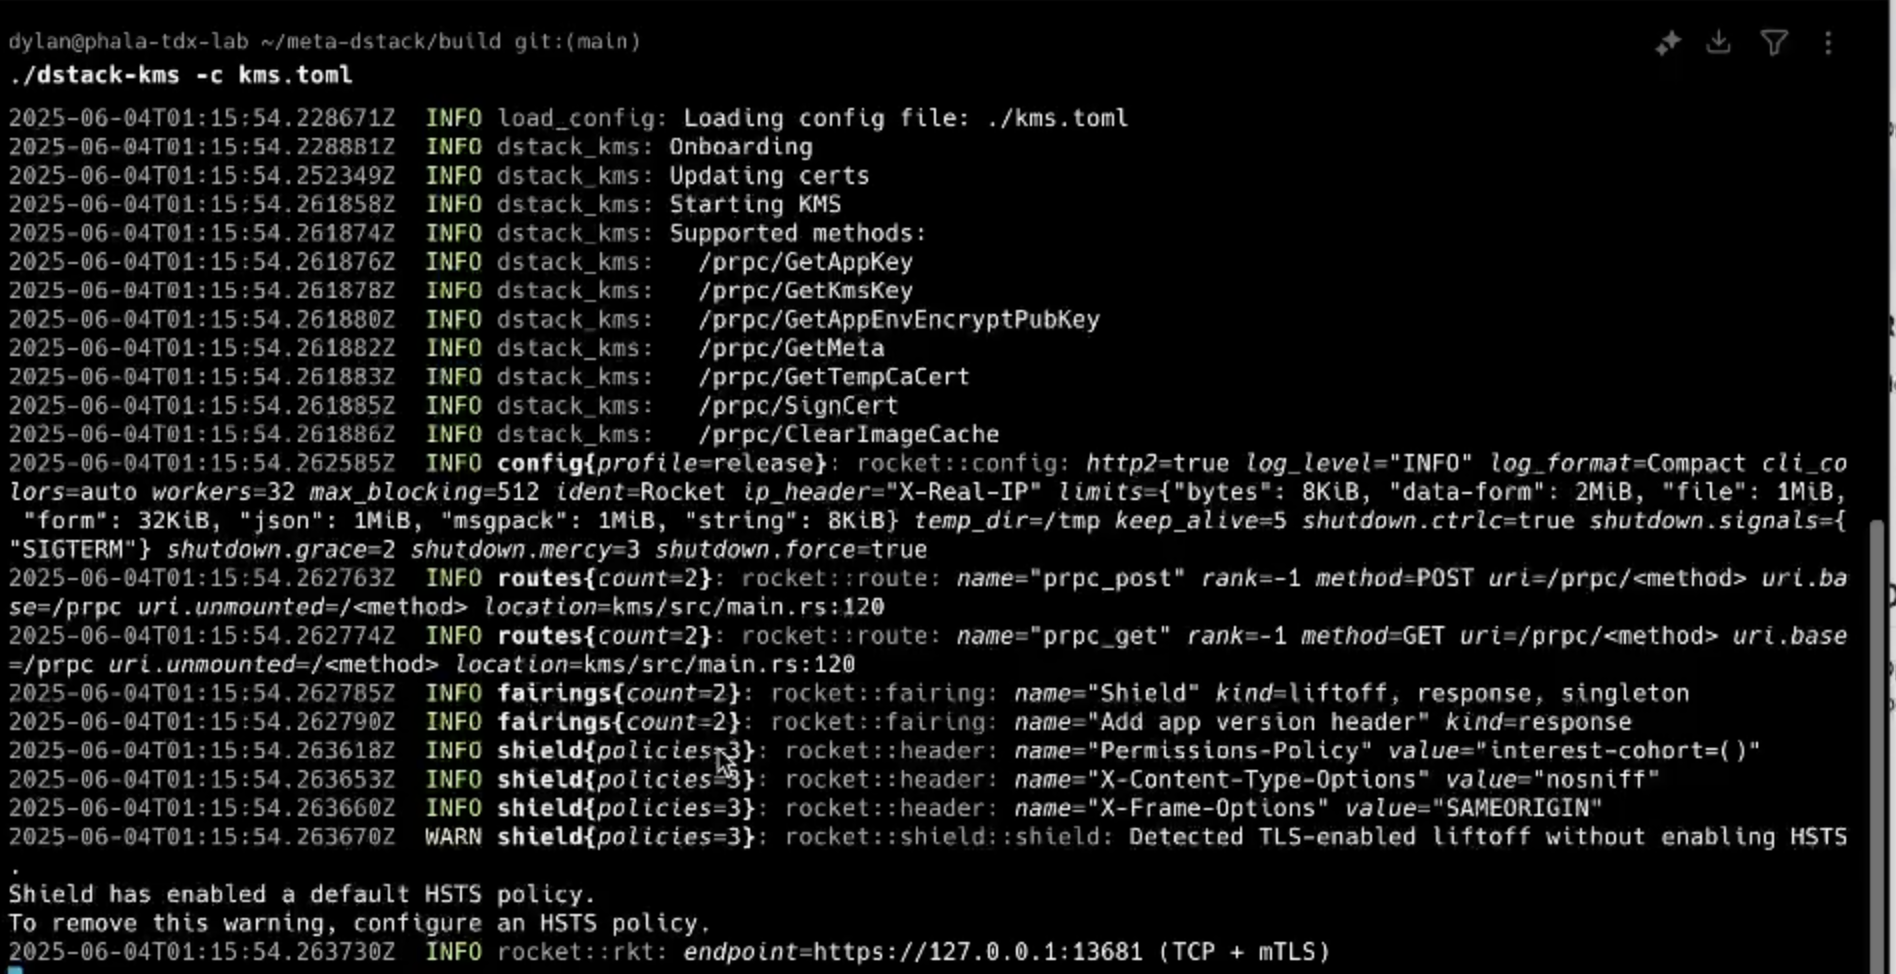 step9.png |
Start gateway | 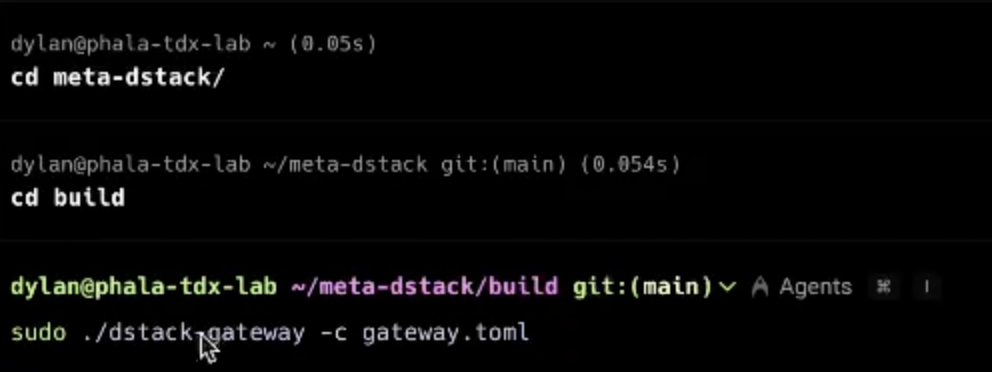 step10.png |
Start vmm | 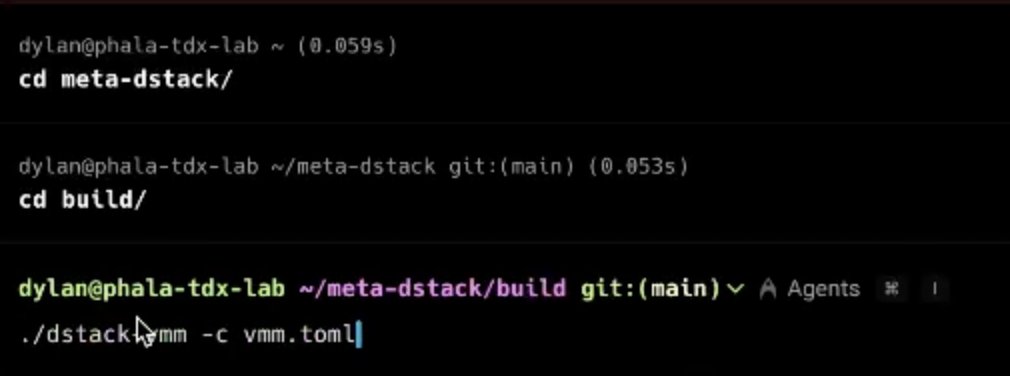 step11.png |
| Open VMM UI |  step12.0.png |
| Verify components | 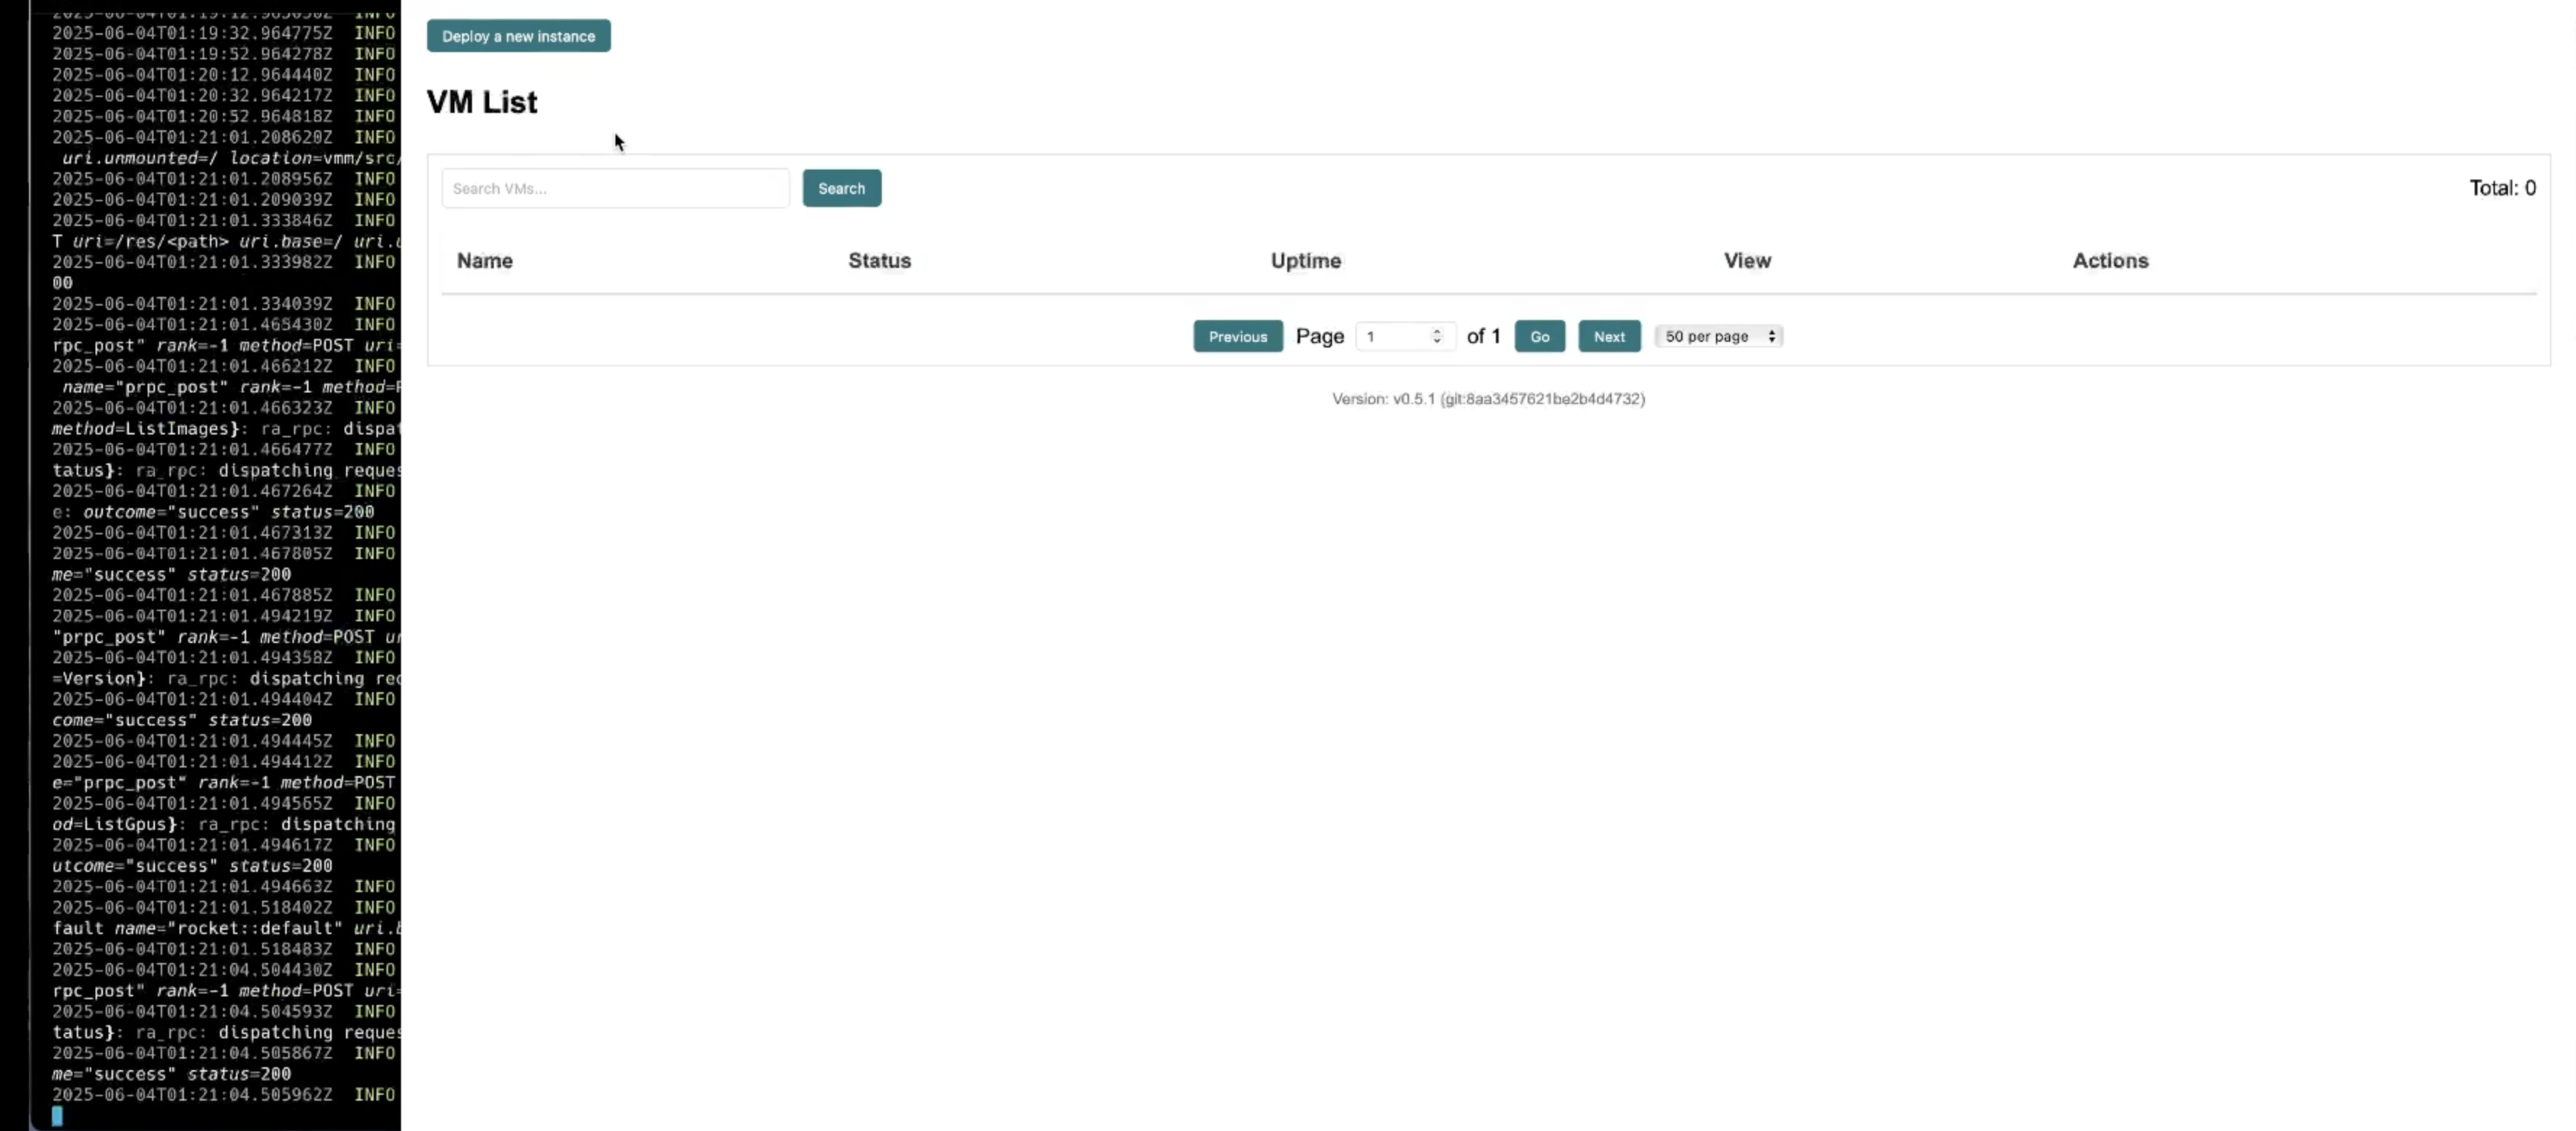 step12.1.png |
| Ready to deploy | 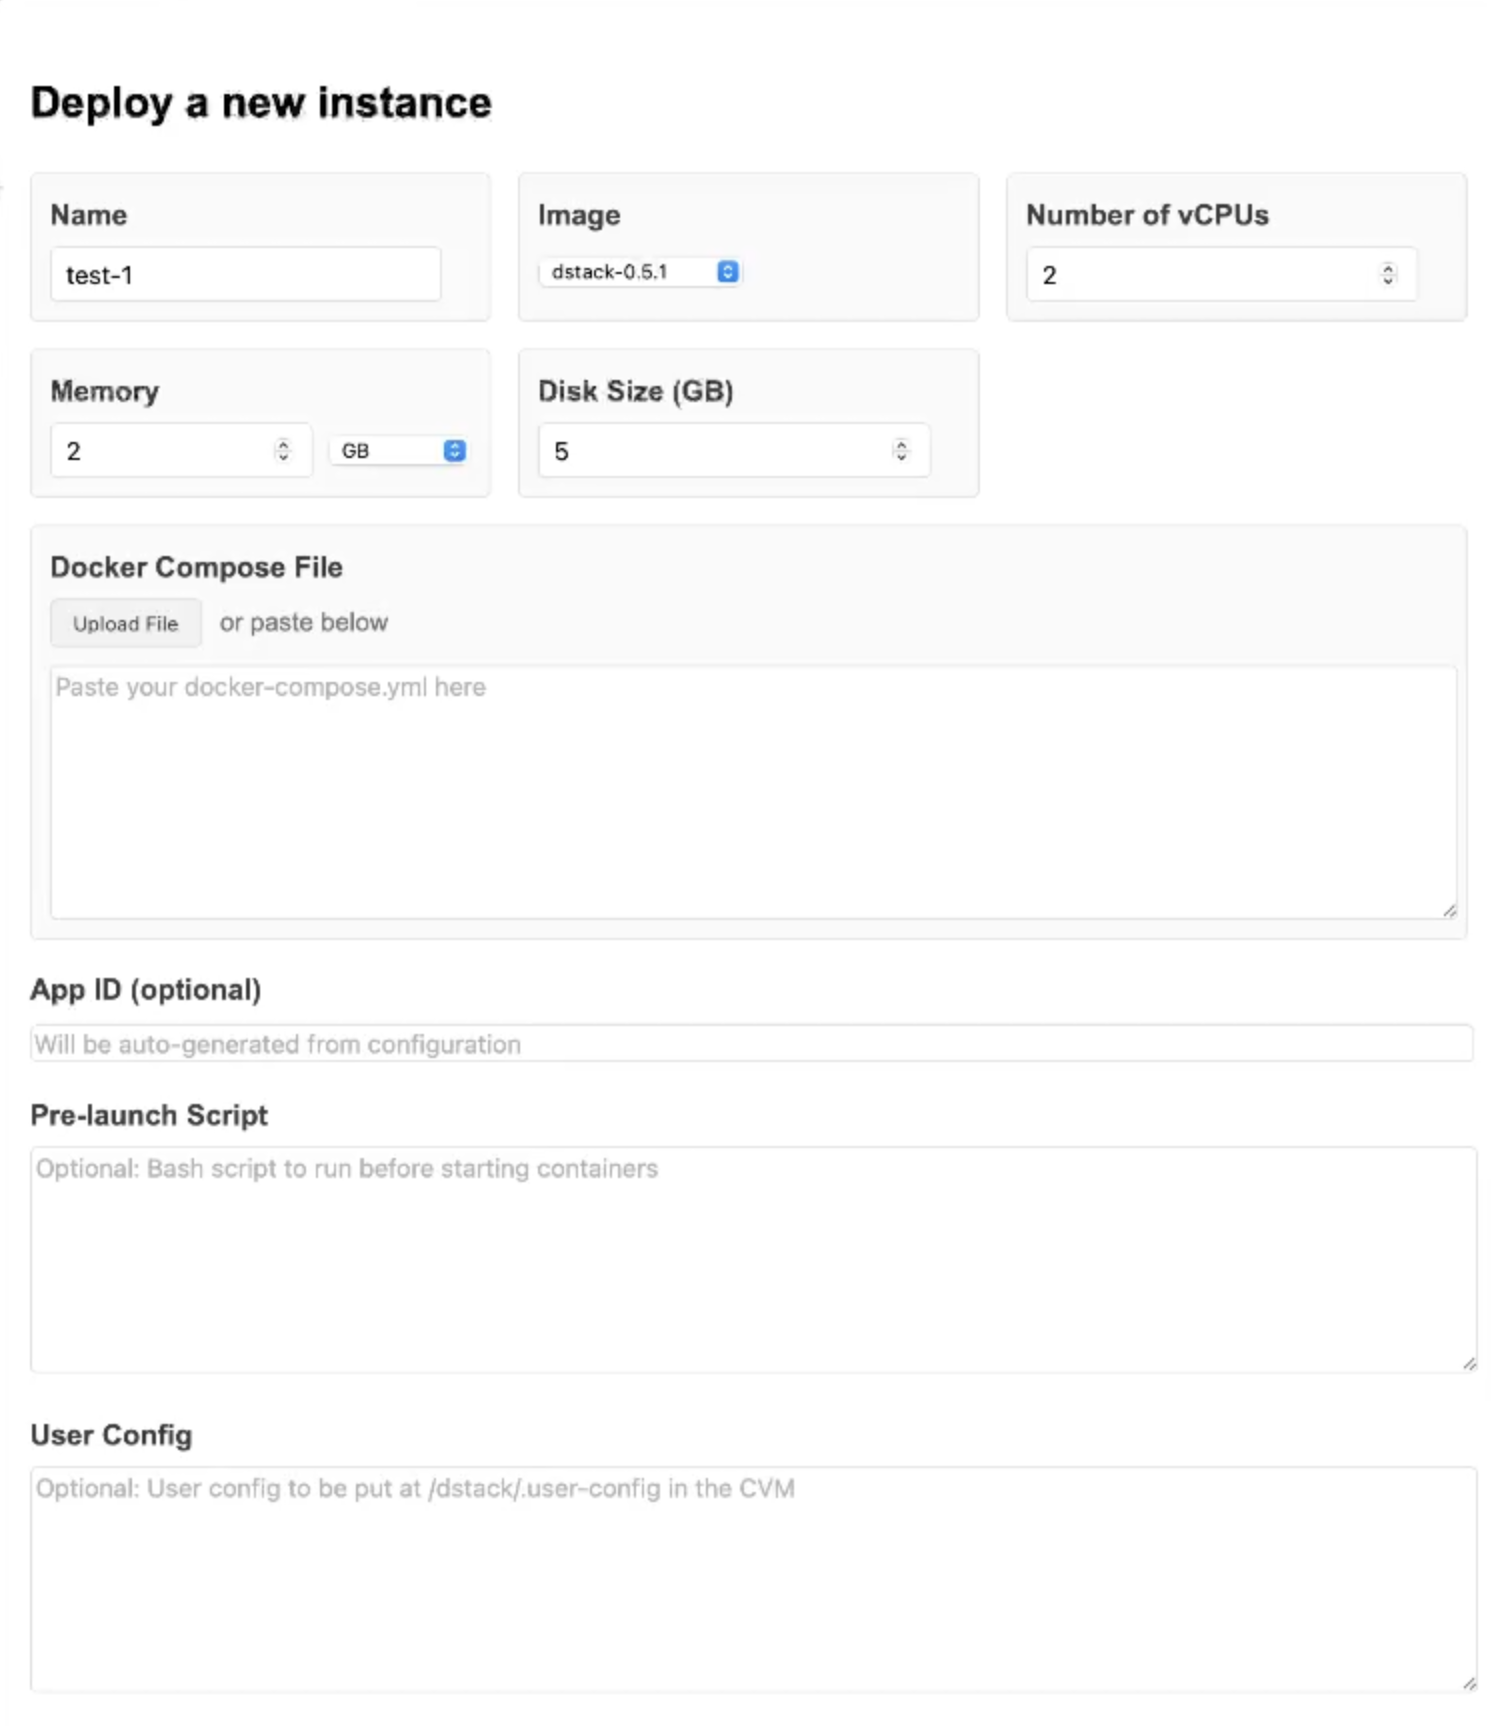 step12.2.png |