Quick Start: Jupyter Notebook on dstack
This is an exact guide on deploying a Jupyter Notebook on dstack where step by step we install, build and run the dstack straight from our local host, and then we will be able to access our own TDX VM with Jupyter Notebook running on it.
1
Open tunnel & access dashboard
this command lets you access the dstack dashboard running on your remote host.
click “Deploy a new instance” to start your first container: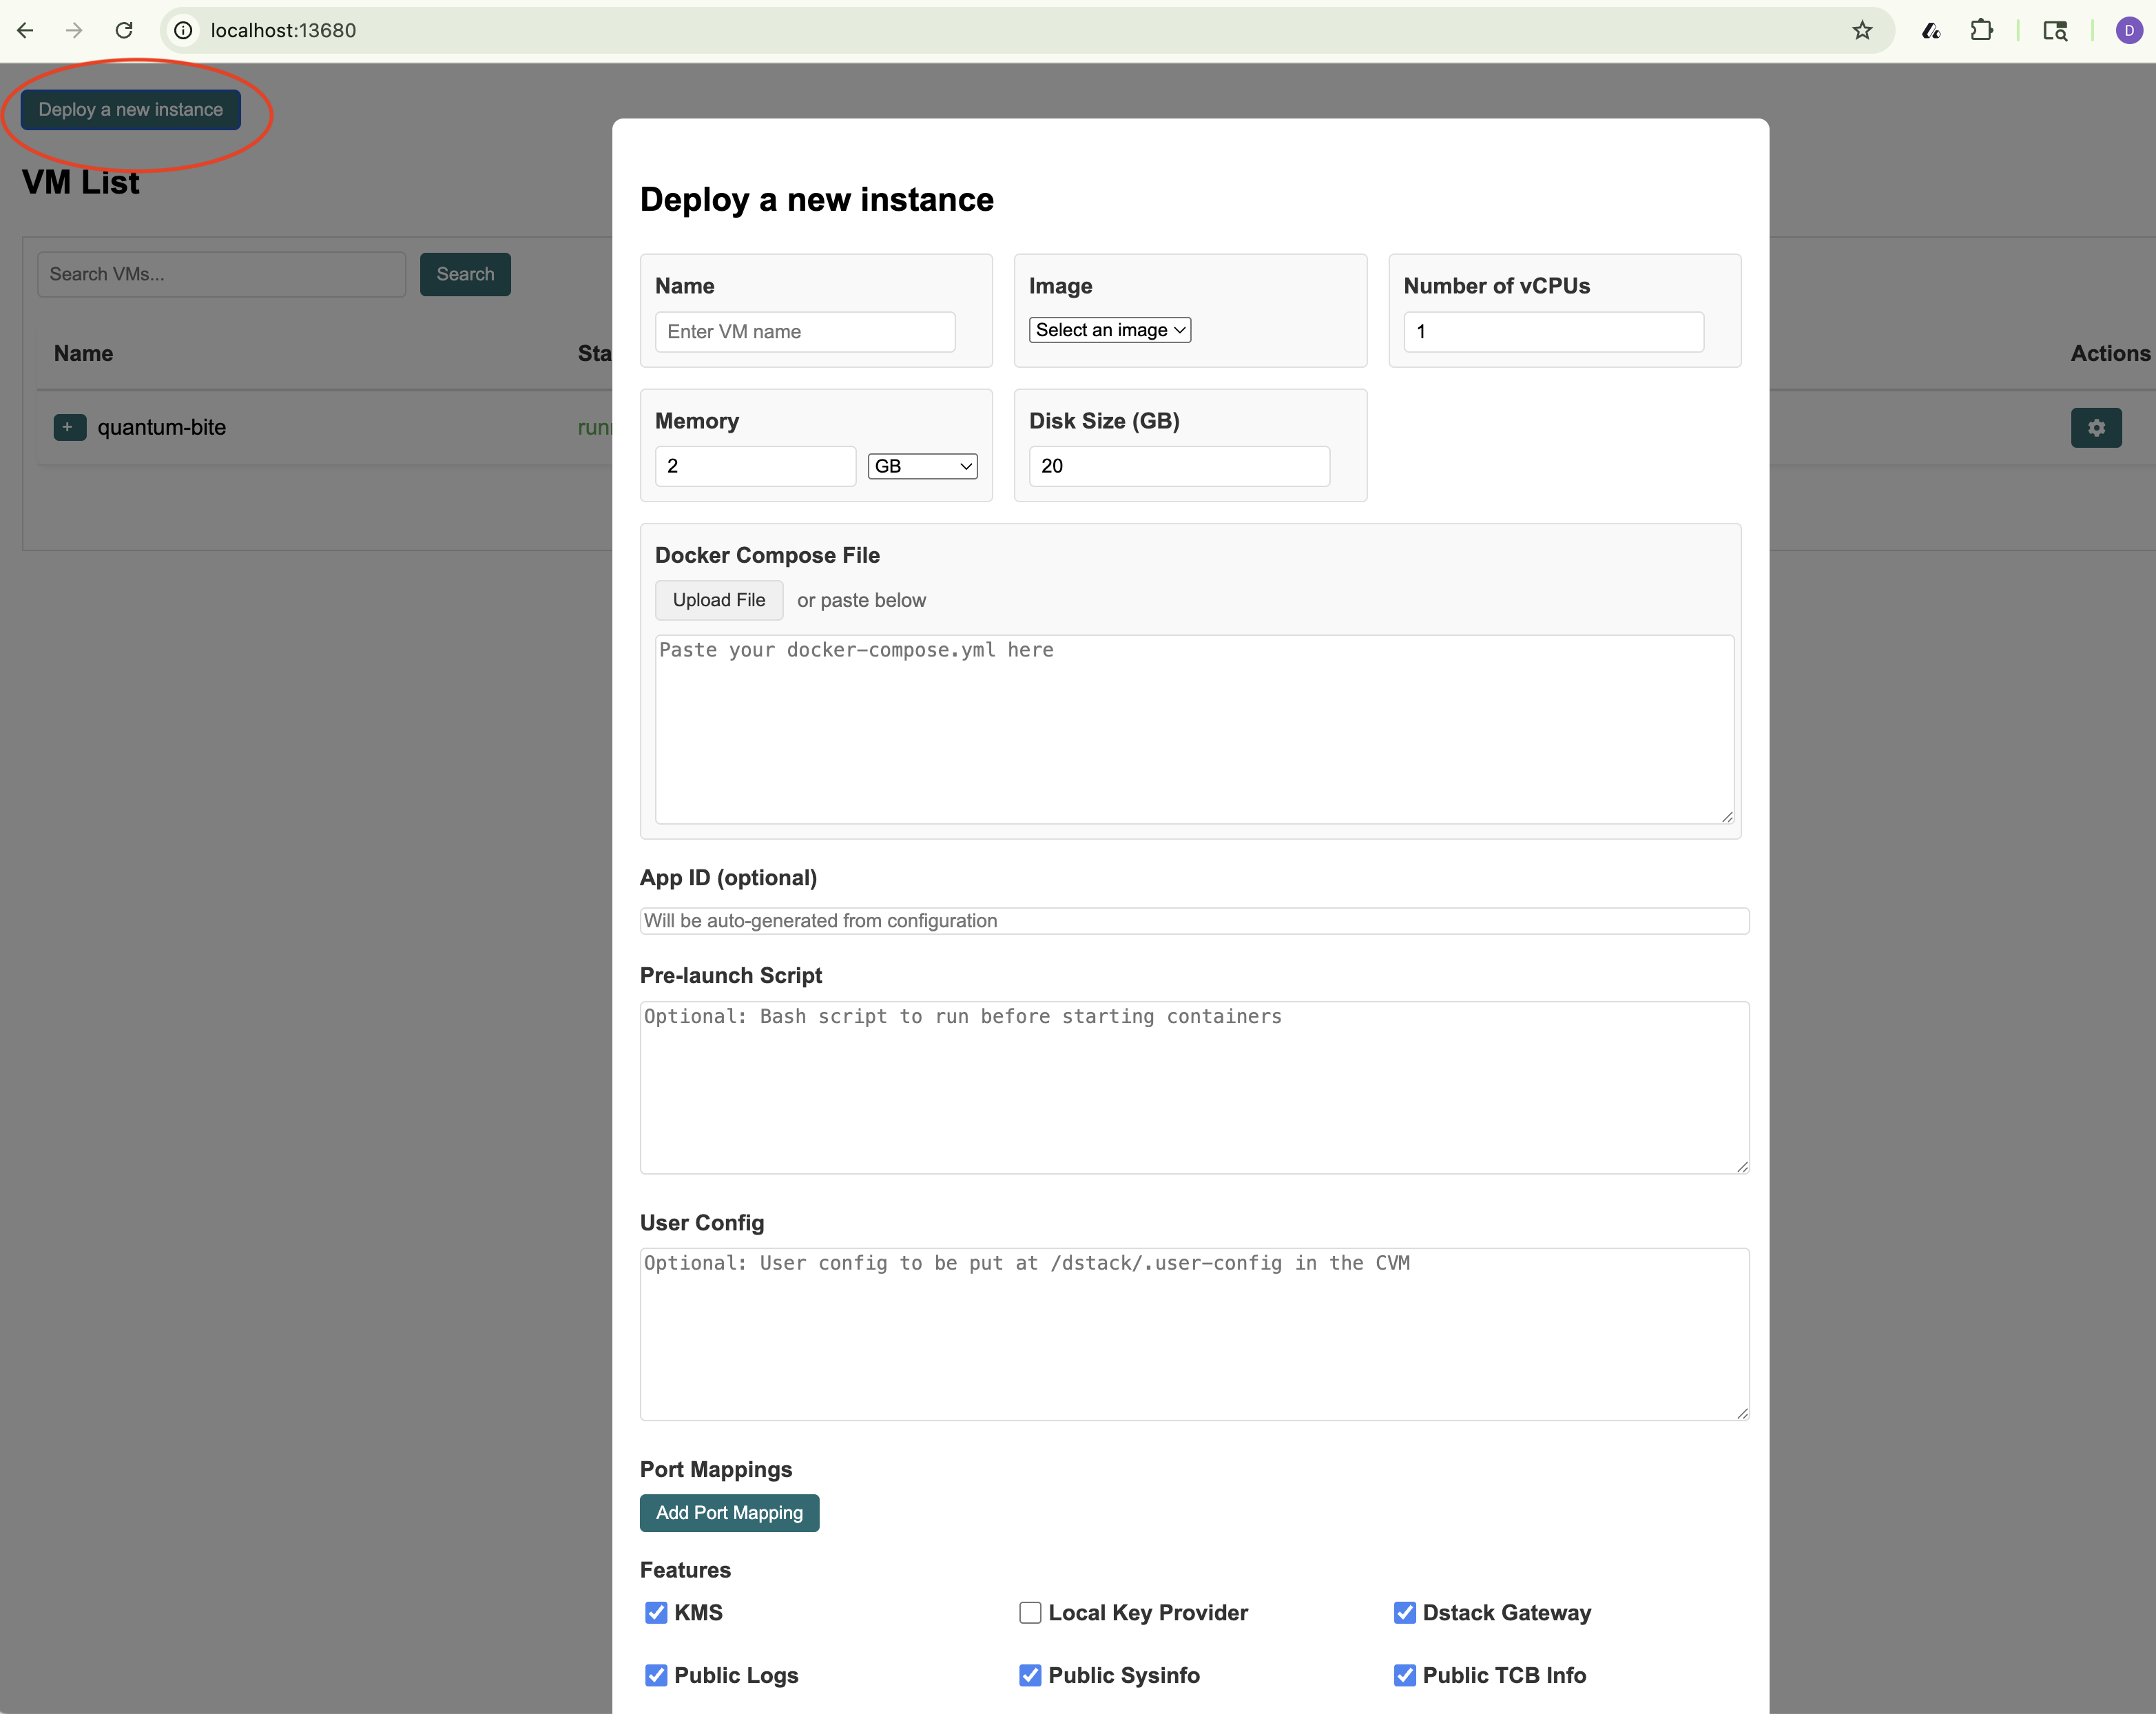

📓 Check Your Jupyter Notebook Deployment
First, let’s confirm your VMM is running and ready. Open the dstack dashboard In Local Host in your browser. If everything is set up, you should see the Jupyter Notebook web page like this: http://localhost/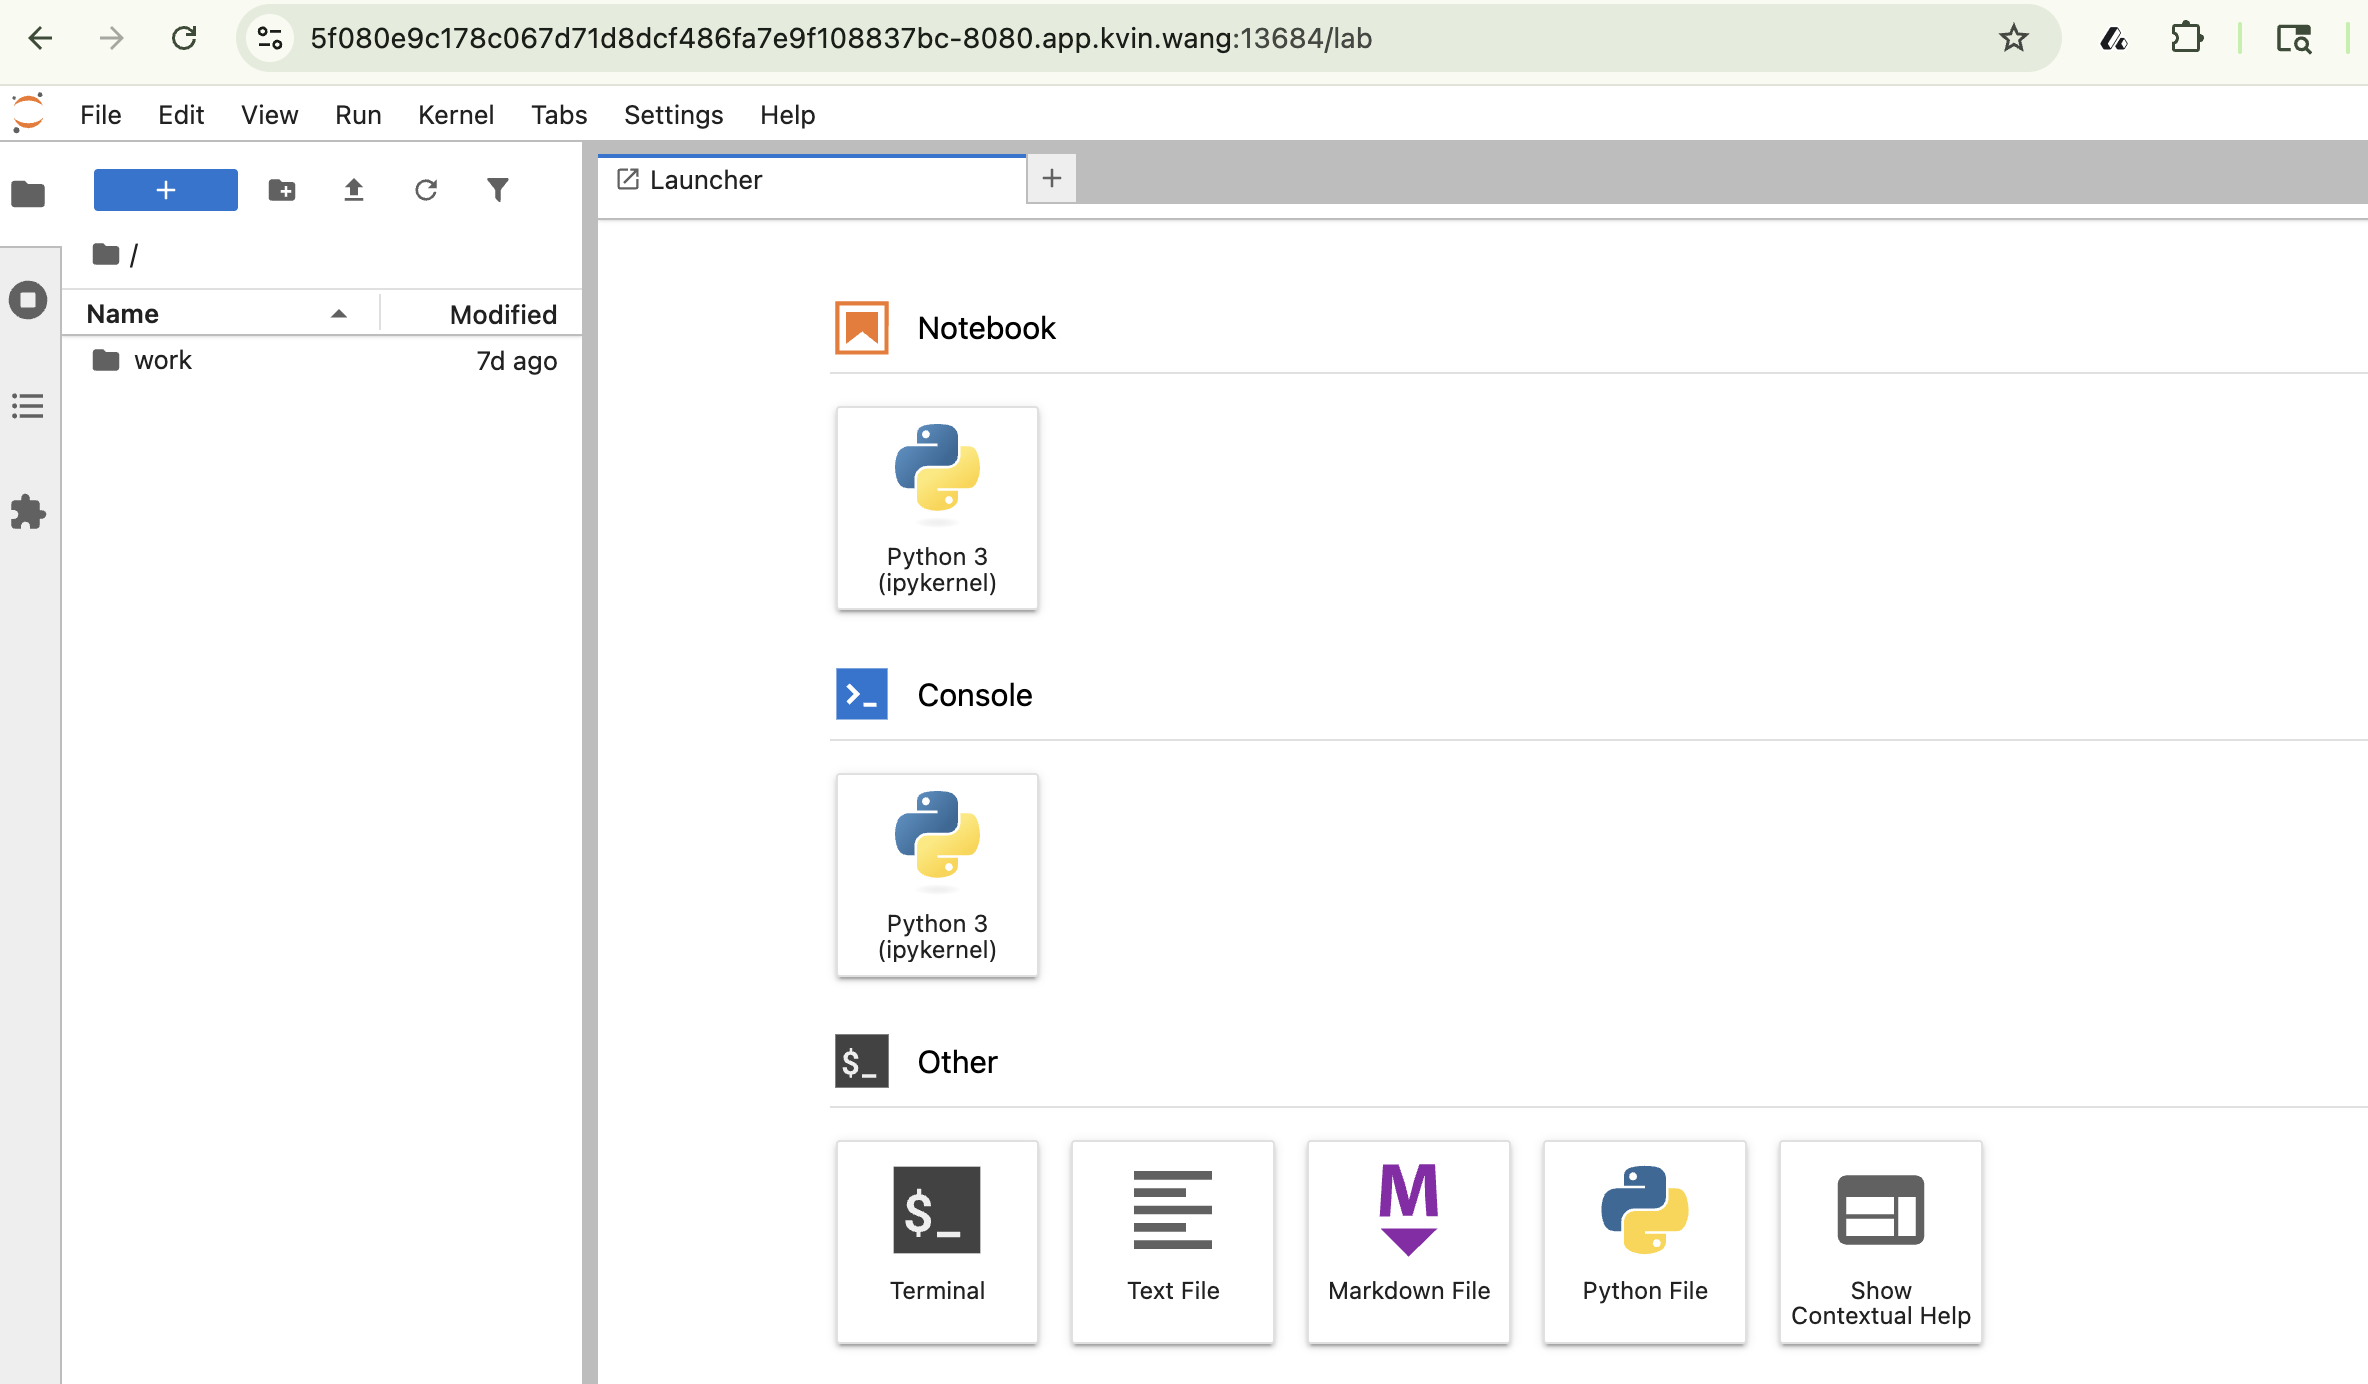
Step 2: Add the Docker Compose YAML
Copy the following YAML and paste it into the “Docker Compose File” field in the dashboard:1Paste your Docker Compose YAML
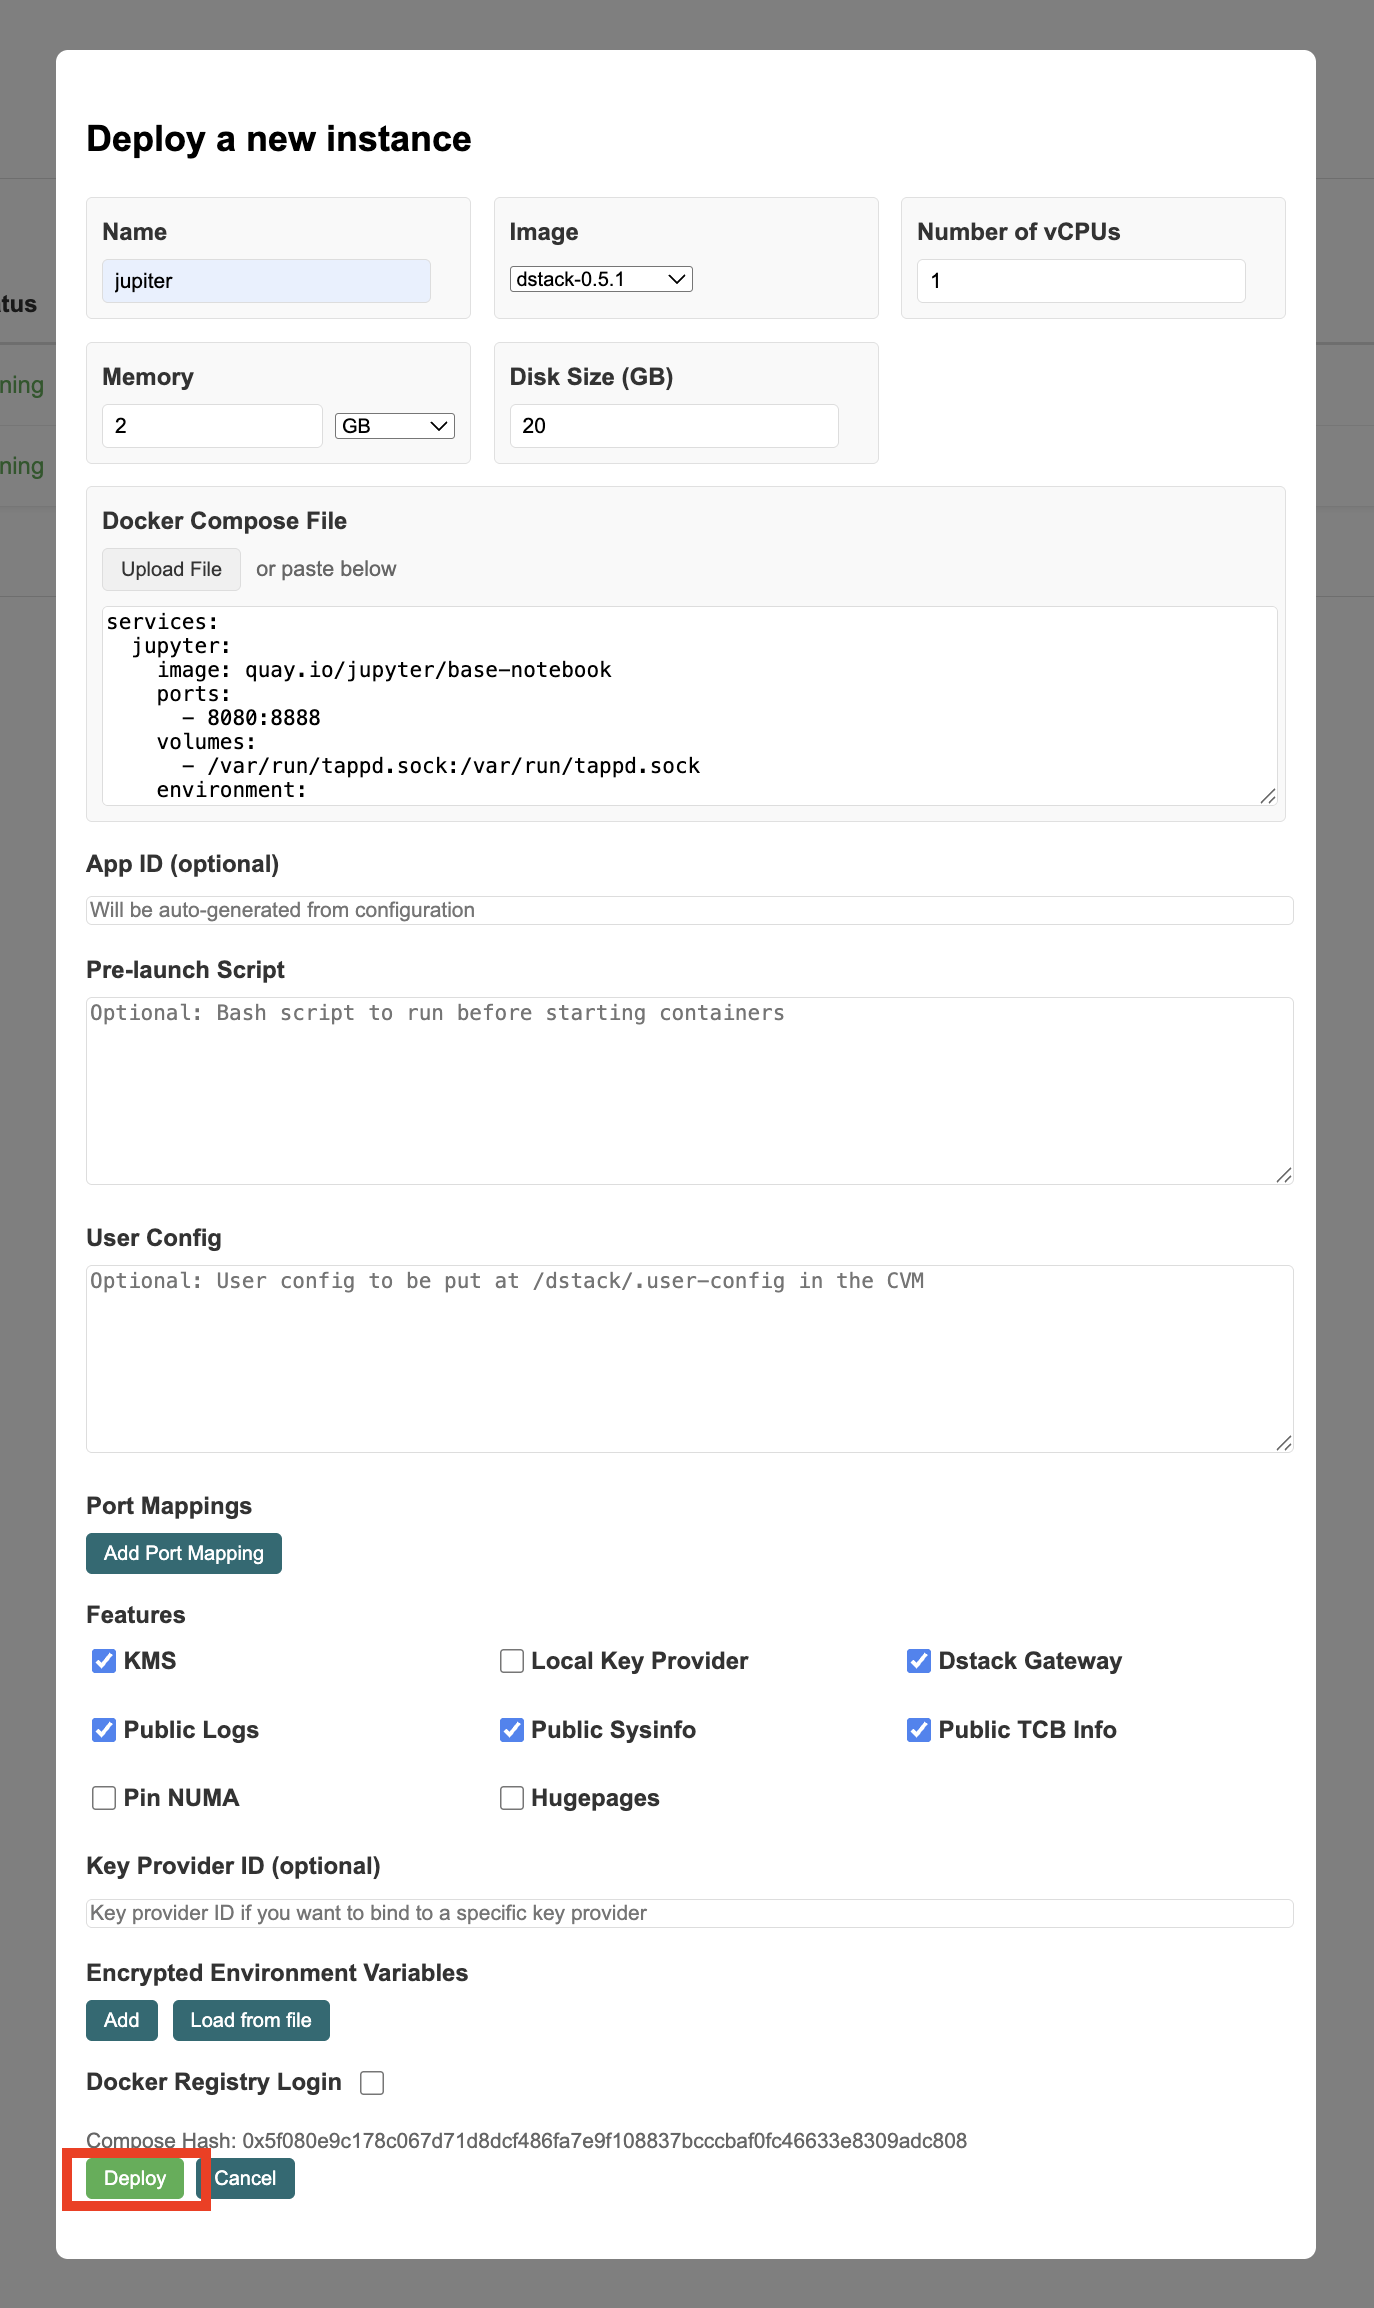
Confirm the editor matches this example, then click “Deploy” to continue.
Step 3: Launch and Monitor
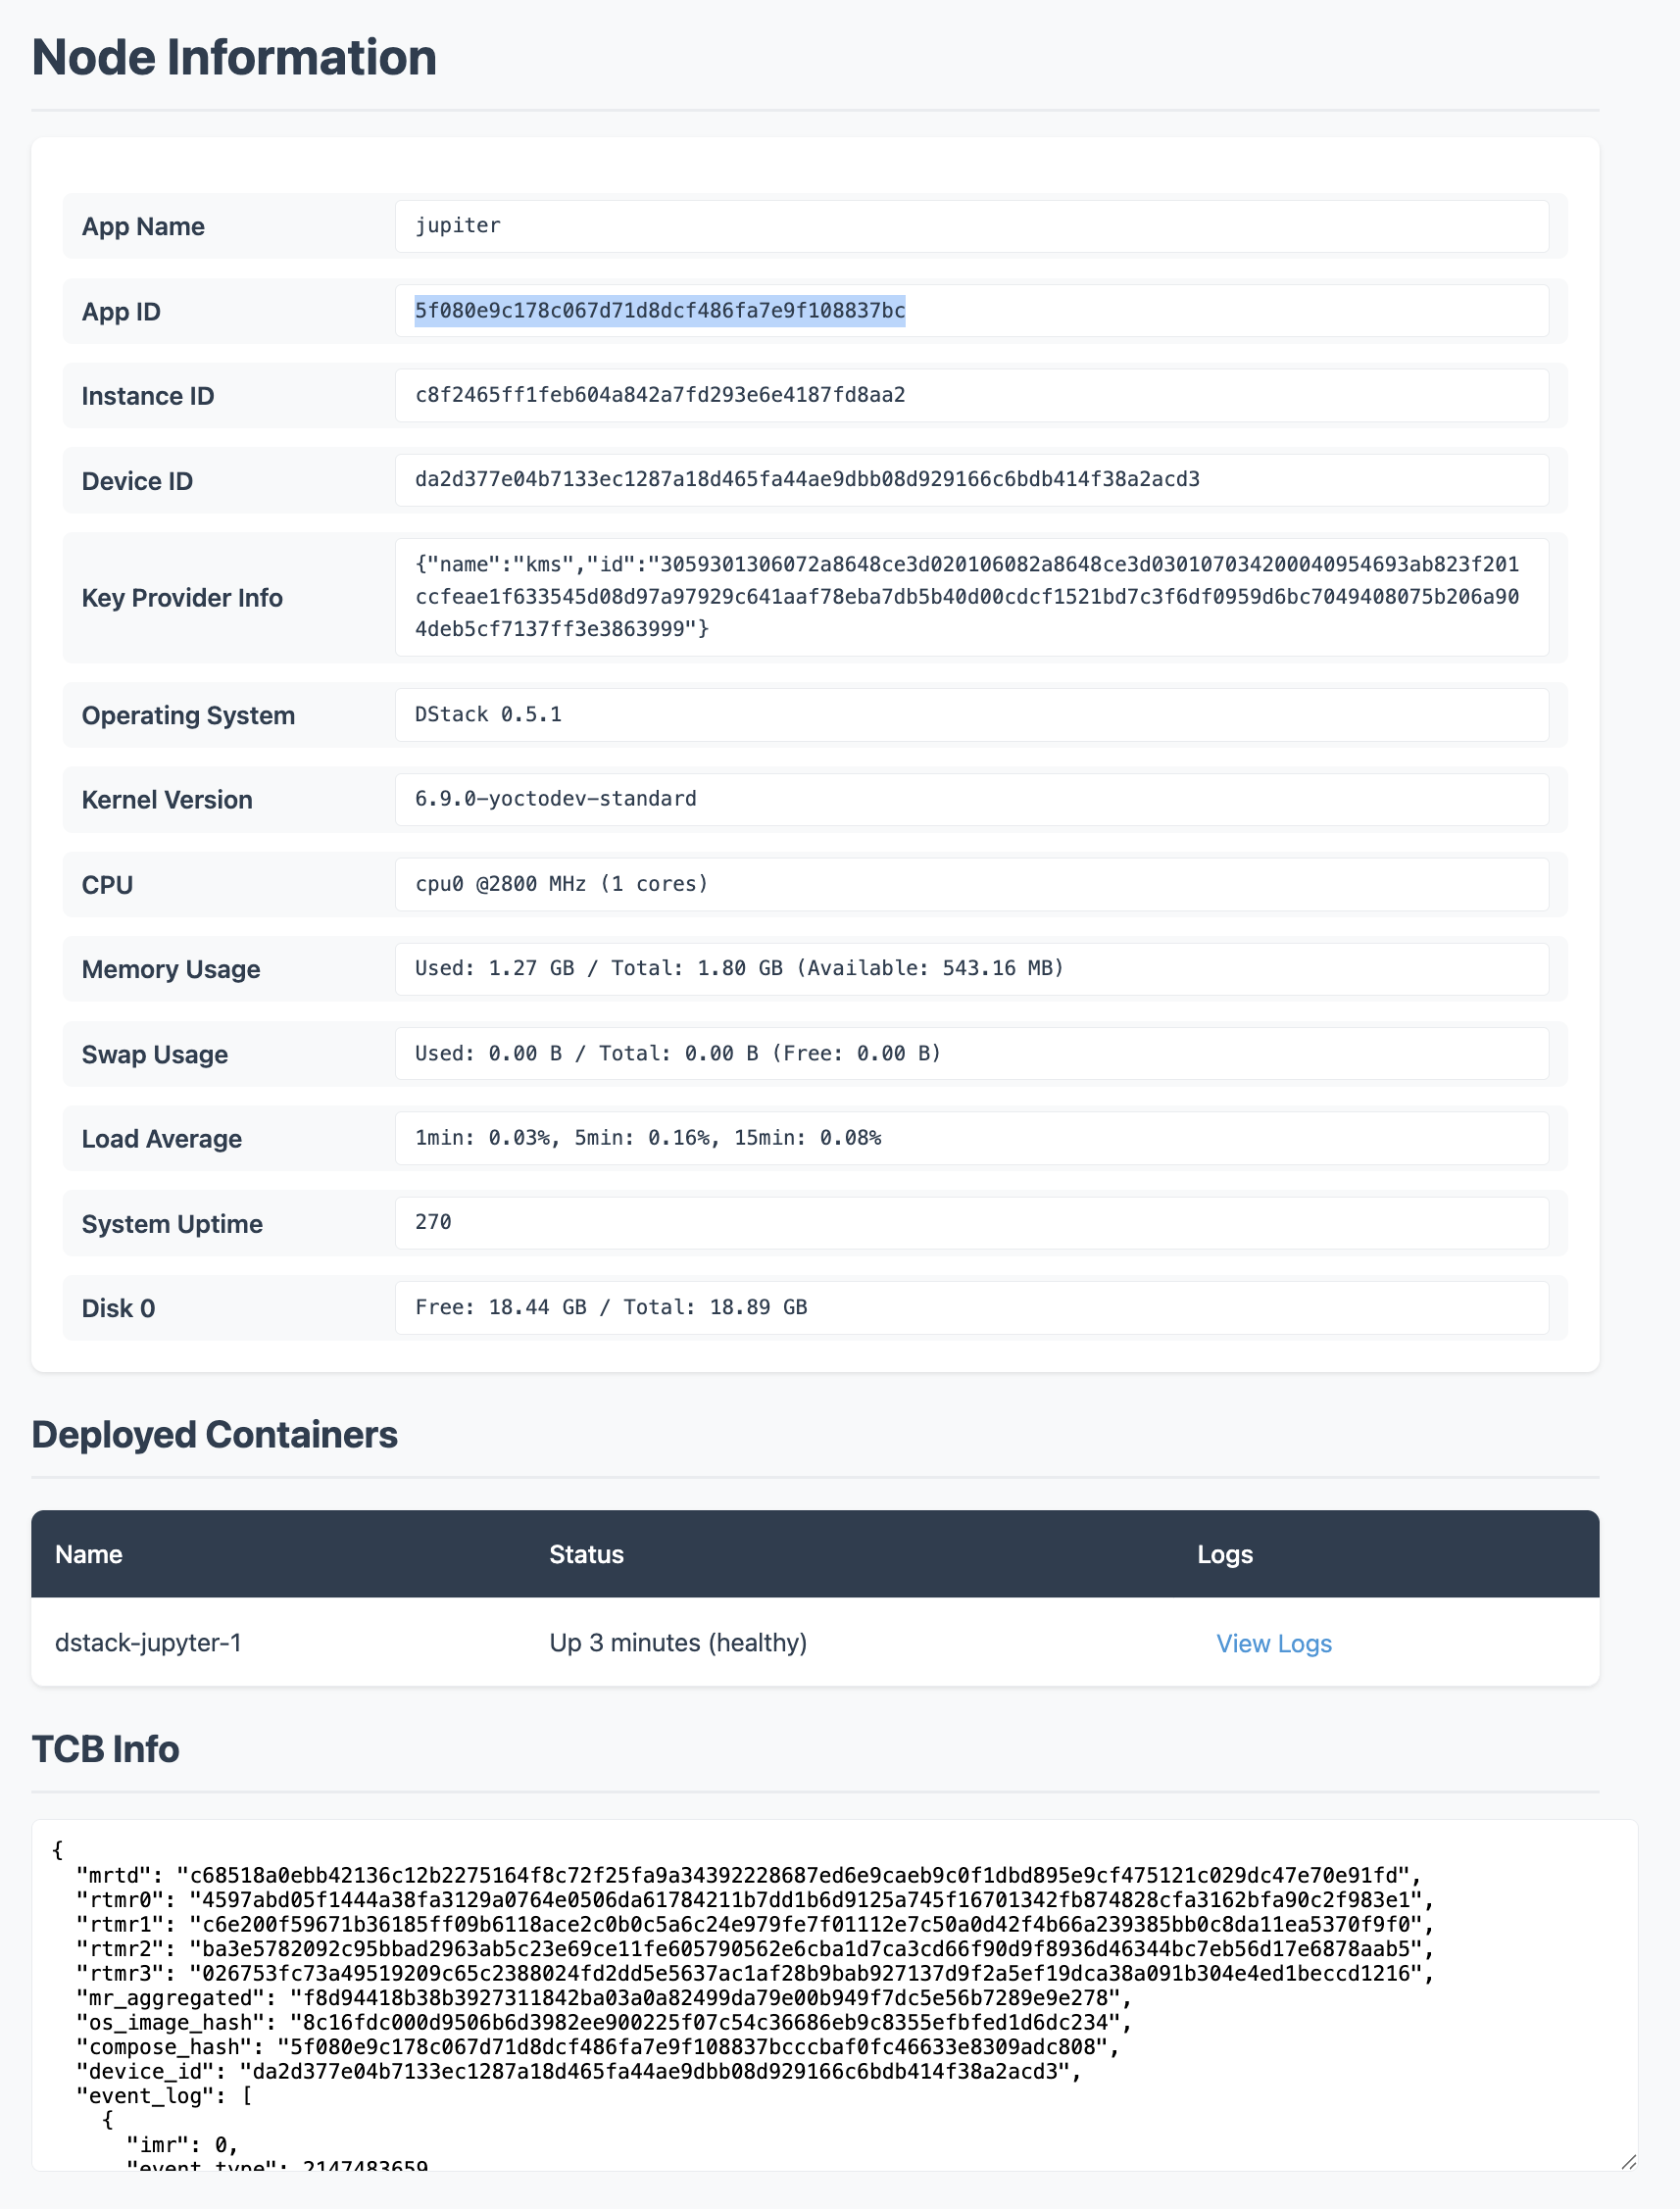
- Click Launch or Deploy in the dashboard.
dstack will start your Jupyter Notebook. This usually takes 1–2 minutes.
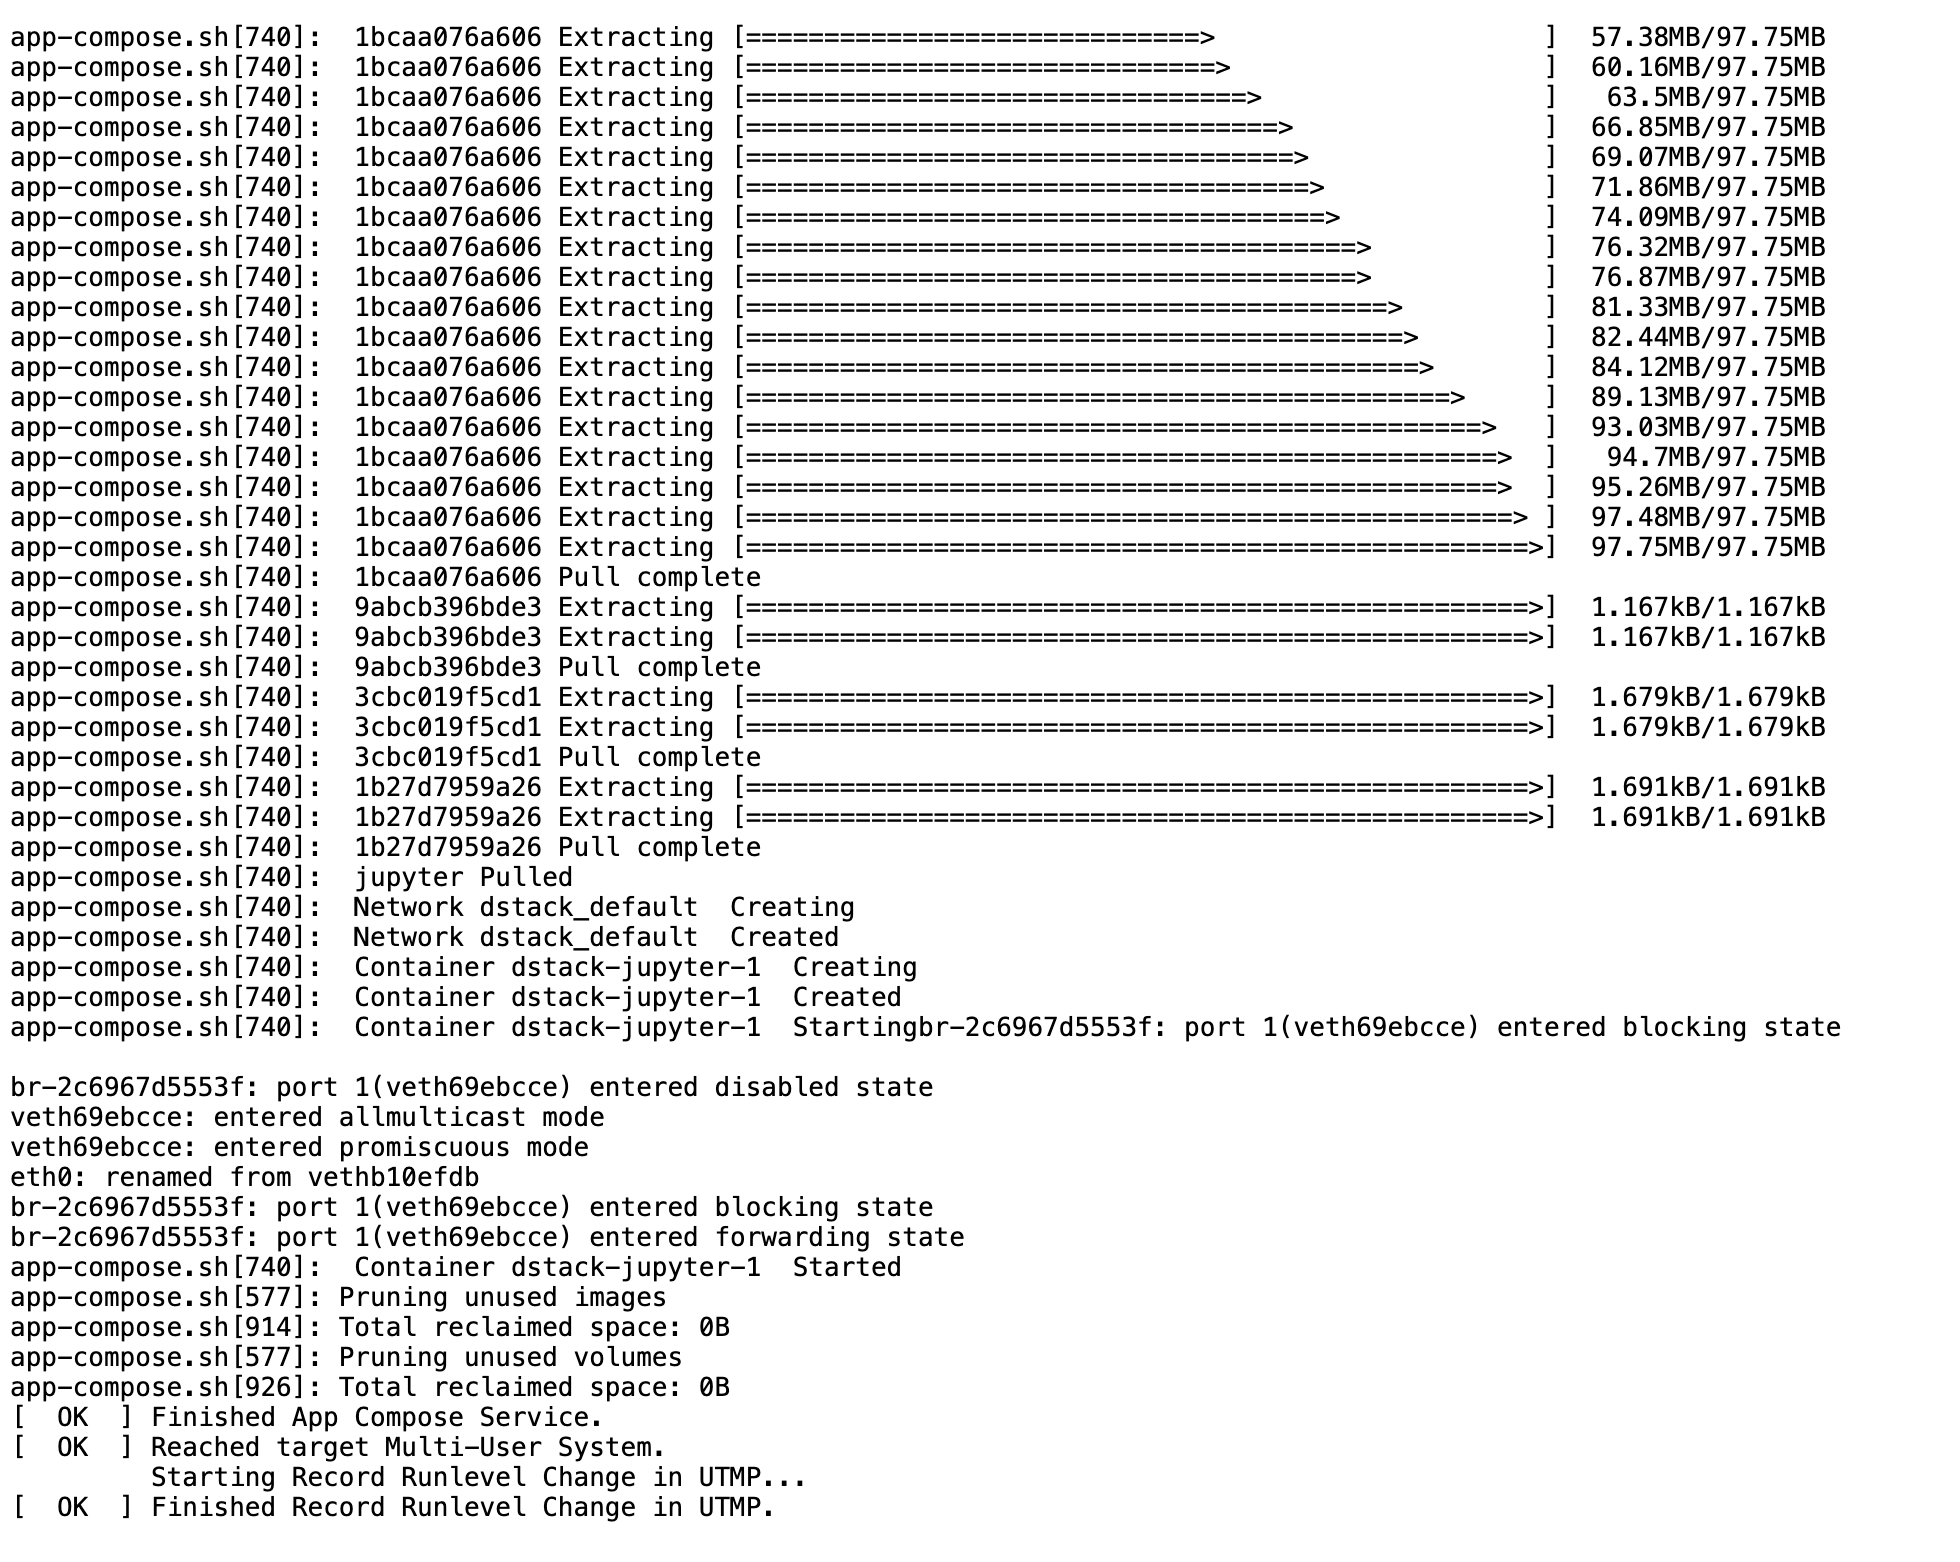
- Watch the progress
- Check Serial Logs for VM boot details
- See container status in the Containers tab
- Scroll to the bottom of logs with Ctrl/Cmd+Down
Your deployment will appear in the dashboard as it starts up.

