> ## Documentation Index
> Fetch the complete documentation index at: https://phalanetwork.mintlify.site/llms.txt
> Use this file to discover all available pages before exploring further.
# How to Sign & push the image to your private registry
> Deploy via Web UI & Monitor with CLI Tools
## Step 3: Access Dashboard & Monitor Deployments
### Access the dstack Dashboard
1. Open your browser and navigate to [http://localhost:9080](http://localhost:9080)
2. You should see the dstack management interface
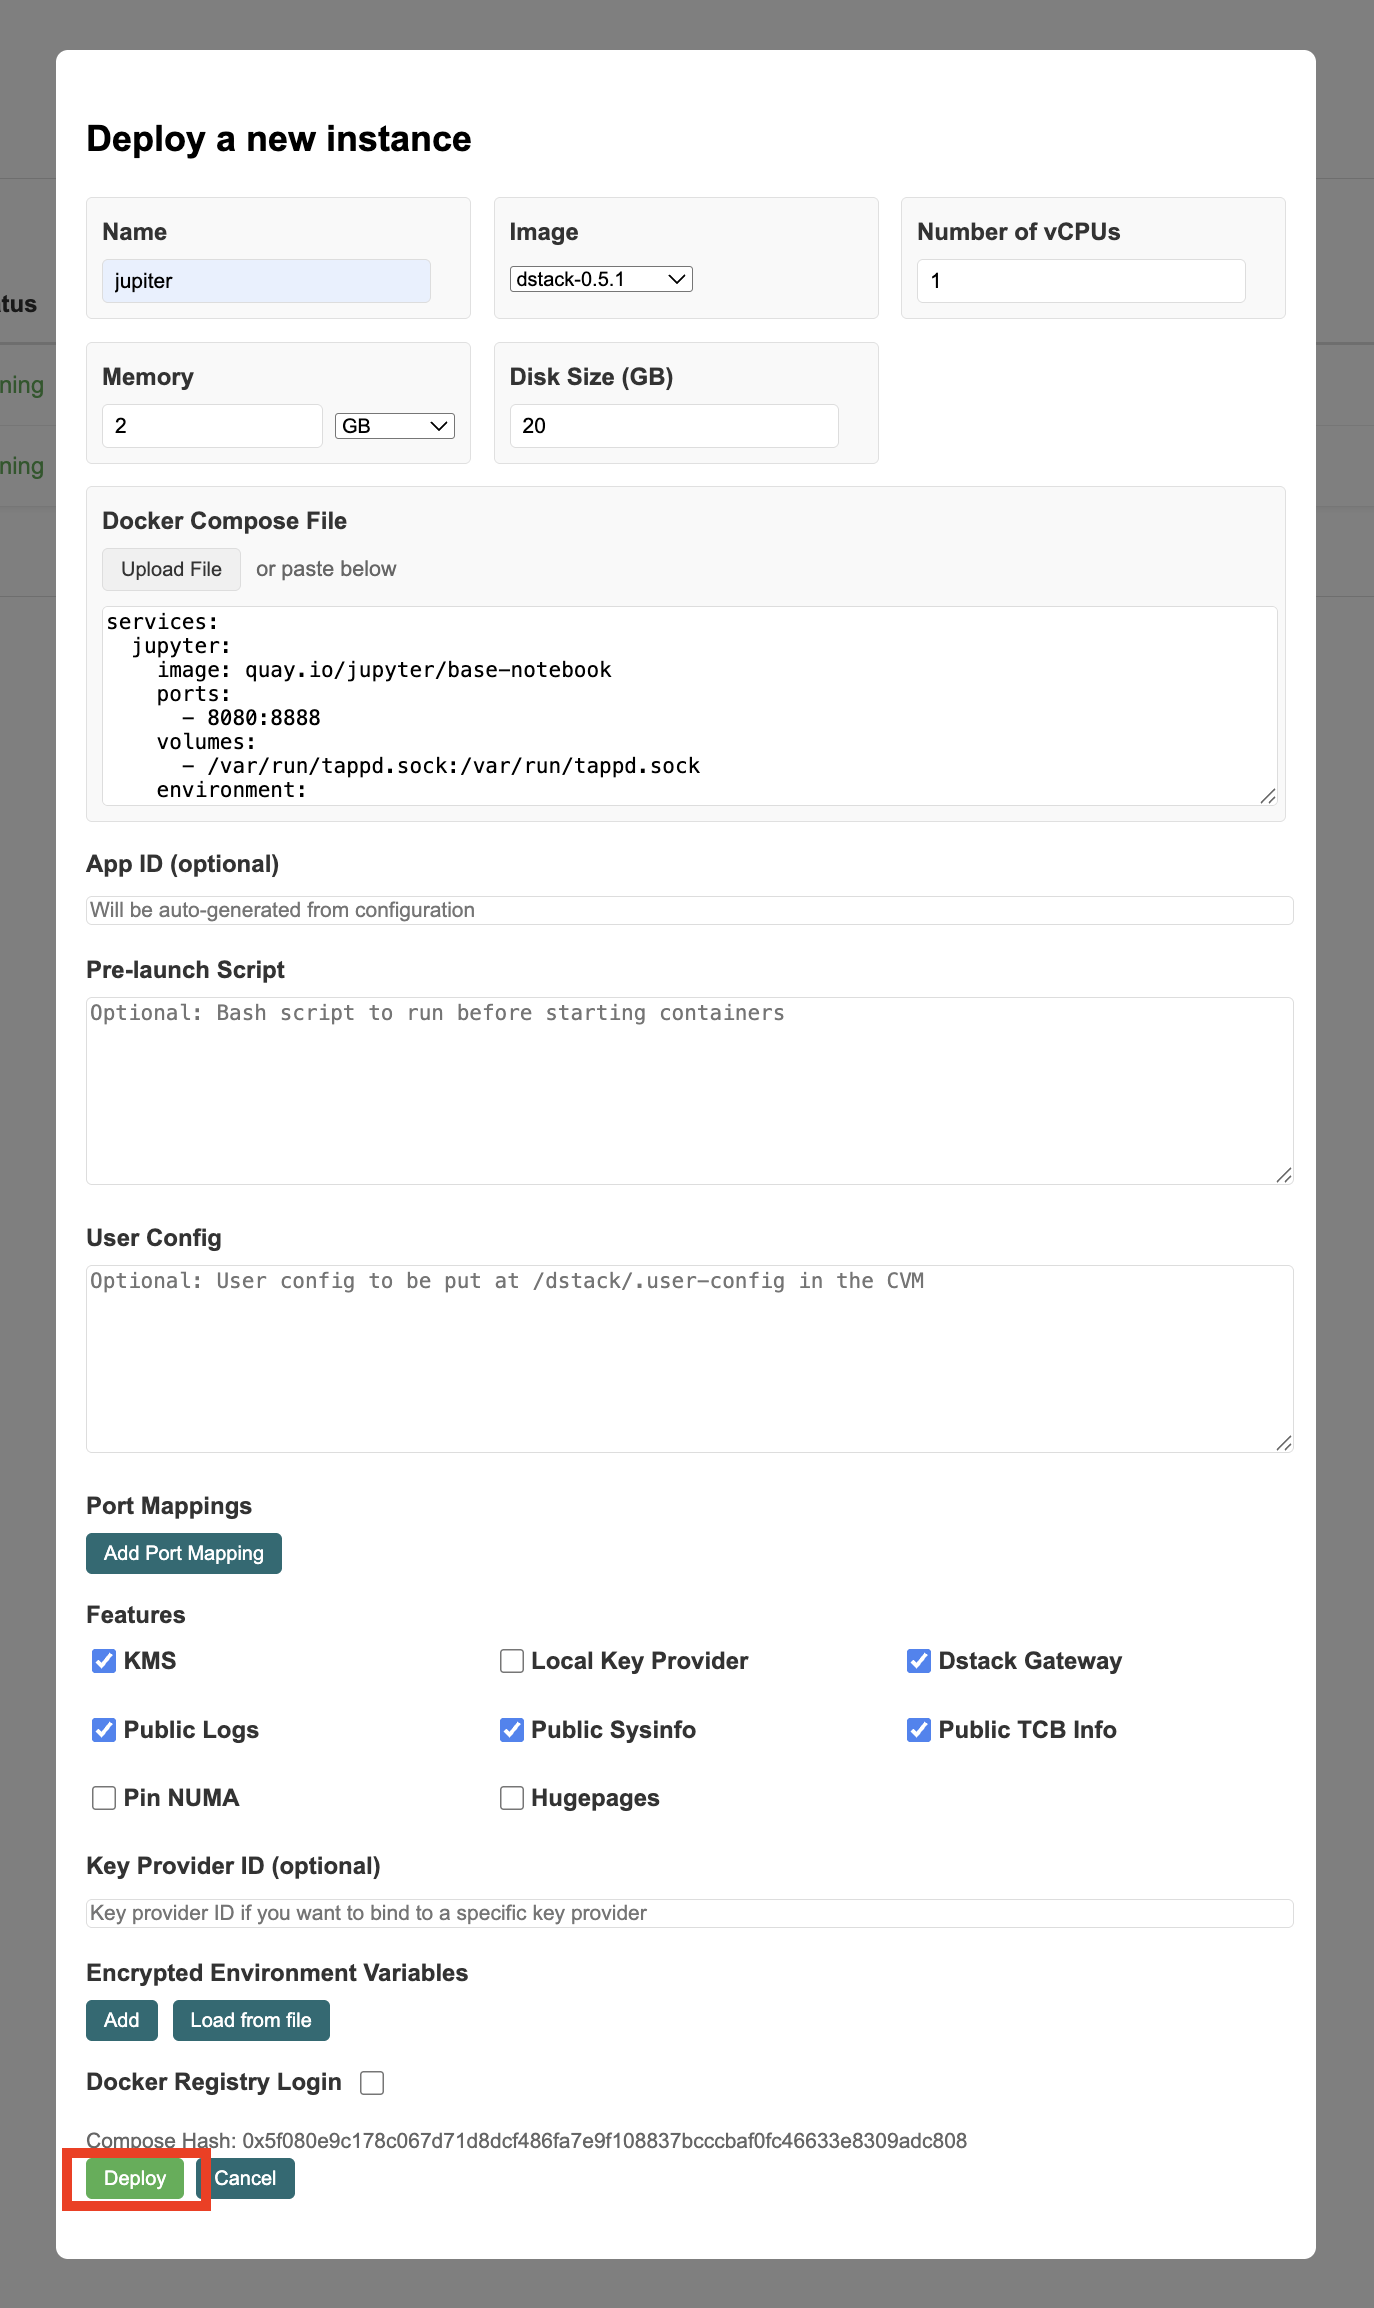
### Create New Deployment
Click **"Deploy New Application"** and fill in the deployment form:
| Field | Value |
| ----------------------- | -------------------------------- |
| **Application Name** | my-first-app |
| **Description** | My first secure application |
| **Docker Compose File** | Upload your `docker-compose.yml` |
***
## CLI Tools for Monitoring Deployments
### dstack-vmm CLI
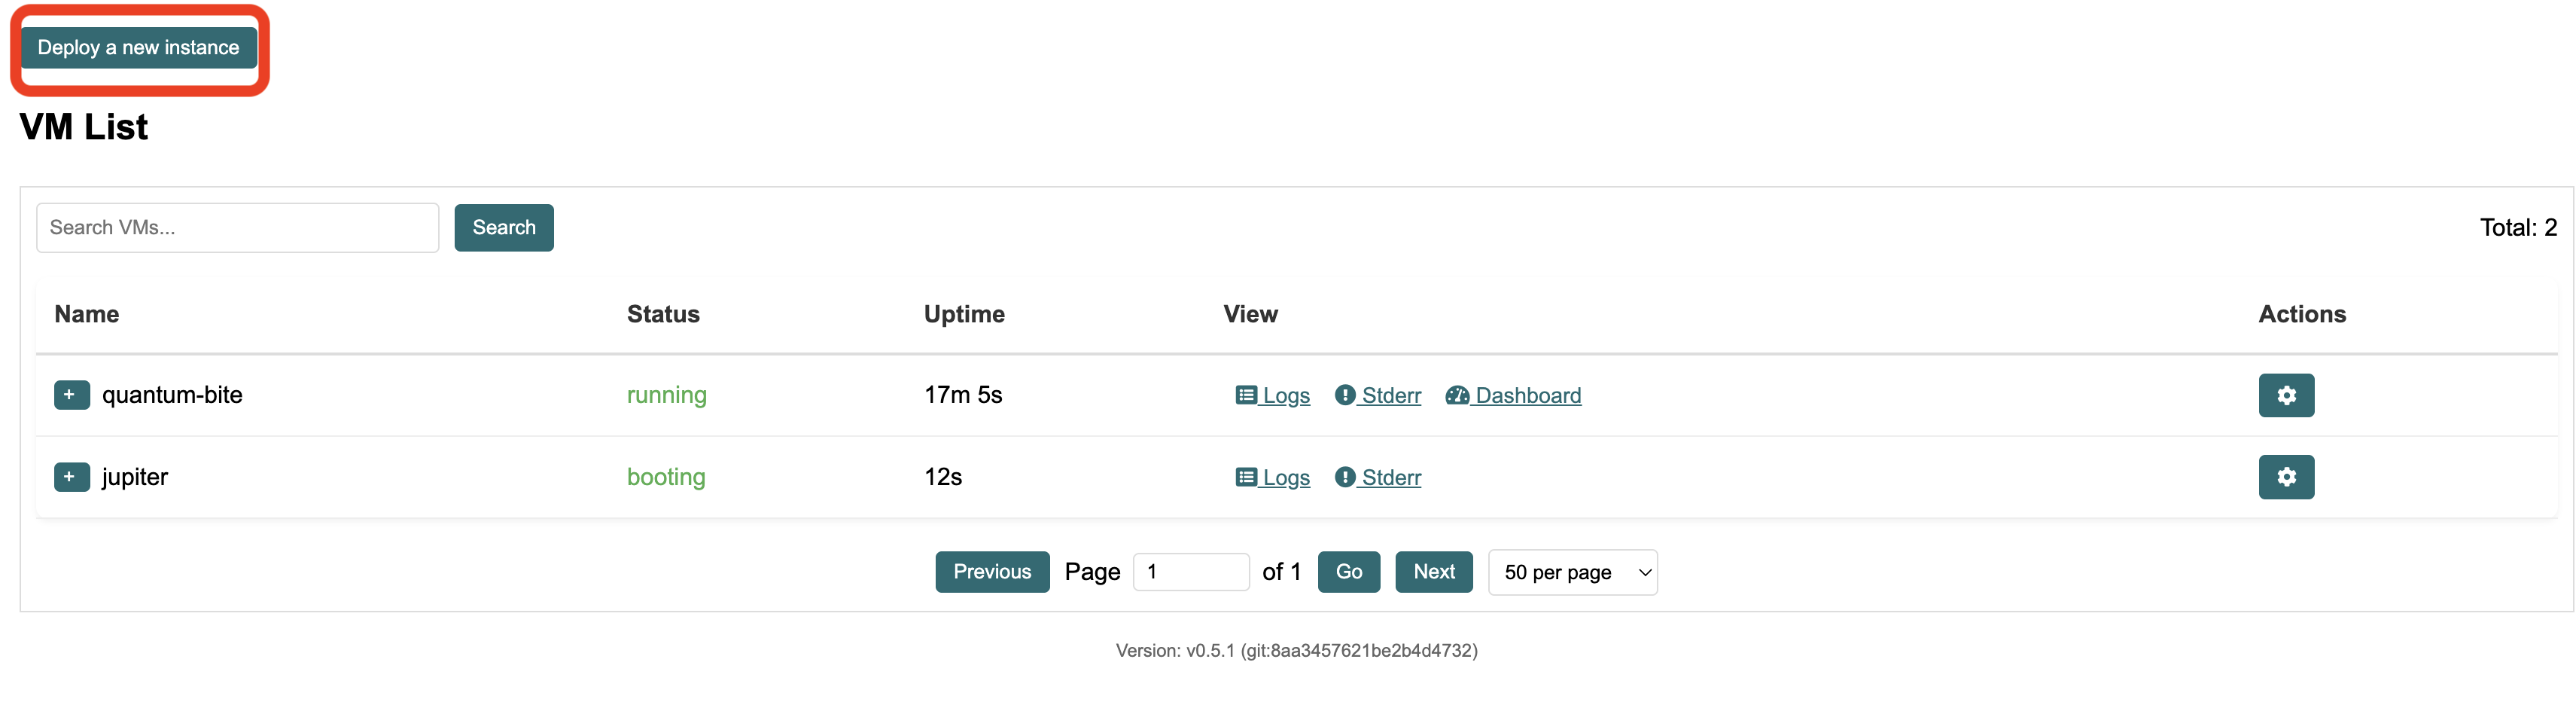
Monitor VMs and container deployments:
```bash theme={null}
# List all VMs and their status
python3 vmm-cli.py --url http://localhost:8080 lsvm
# List VMs with detailed information
python3 vmm-cli.py --url http://localhost:8080 lsvm -v
# Show VM logs (useful for monitoring deployment progress)
python3 vmm-cli.py --url http://localhost:8080 logs
# Follow logs in real-time
python3 vmm-cli.py --url http://localhost:8080 logs --follow
# List available OS images
python3 vmm-cli.py --url http://localhost:8080 lsimage
```
### Supervisor CLI
Monitor processes within containers:
```bash theme={null}
# List all running processes
supervisor-client --base-url unix:/var/run/supervisor.sock list
# Get detailed information about a specific process
supervisor-client --base-url unix:/var/run/supervisor.sock info
# Health check
supervisor-client --base-url unix:/var/run/supervisor.sock ping
```
### dstack-util CLI
For advanced monitoring and attestation:
```bash theme={null}
# Get TDX report (for attestation verification)
echo -n "report_data" | dstack-util report
# Generate TDX quote (for remote attestation)
echo -n "report_data" | dstack-util quote
# Show current RTMR measurements
dstack-util show
```
***
## Monitor Deployment Progress
The deployment process involves several steps:
1
Creating Confidential VM
2
Setting up secure environment
Use the CLI tools above to monitor each step and troubleshoot any issues during deployment.